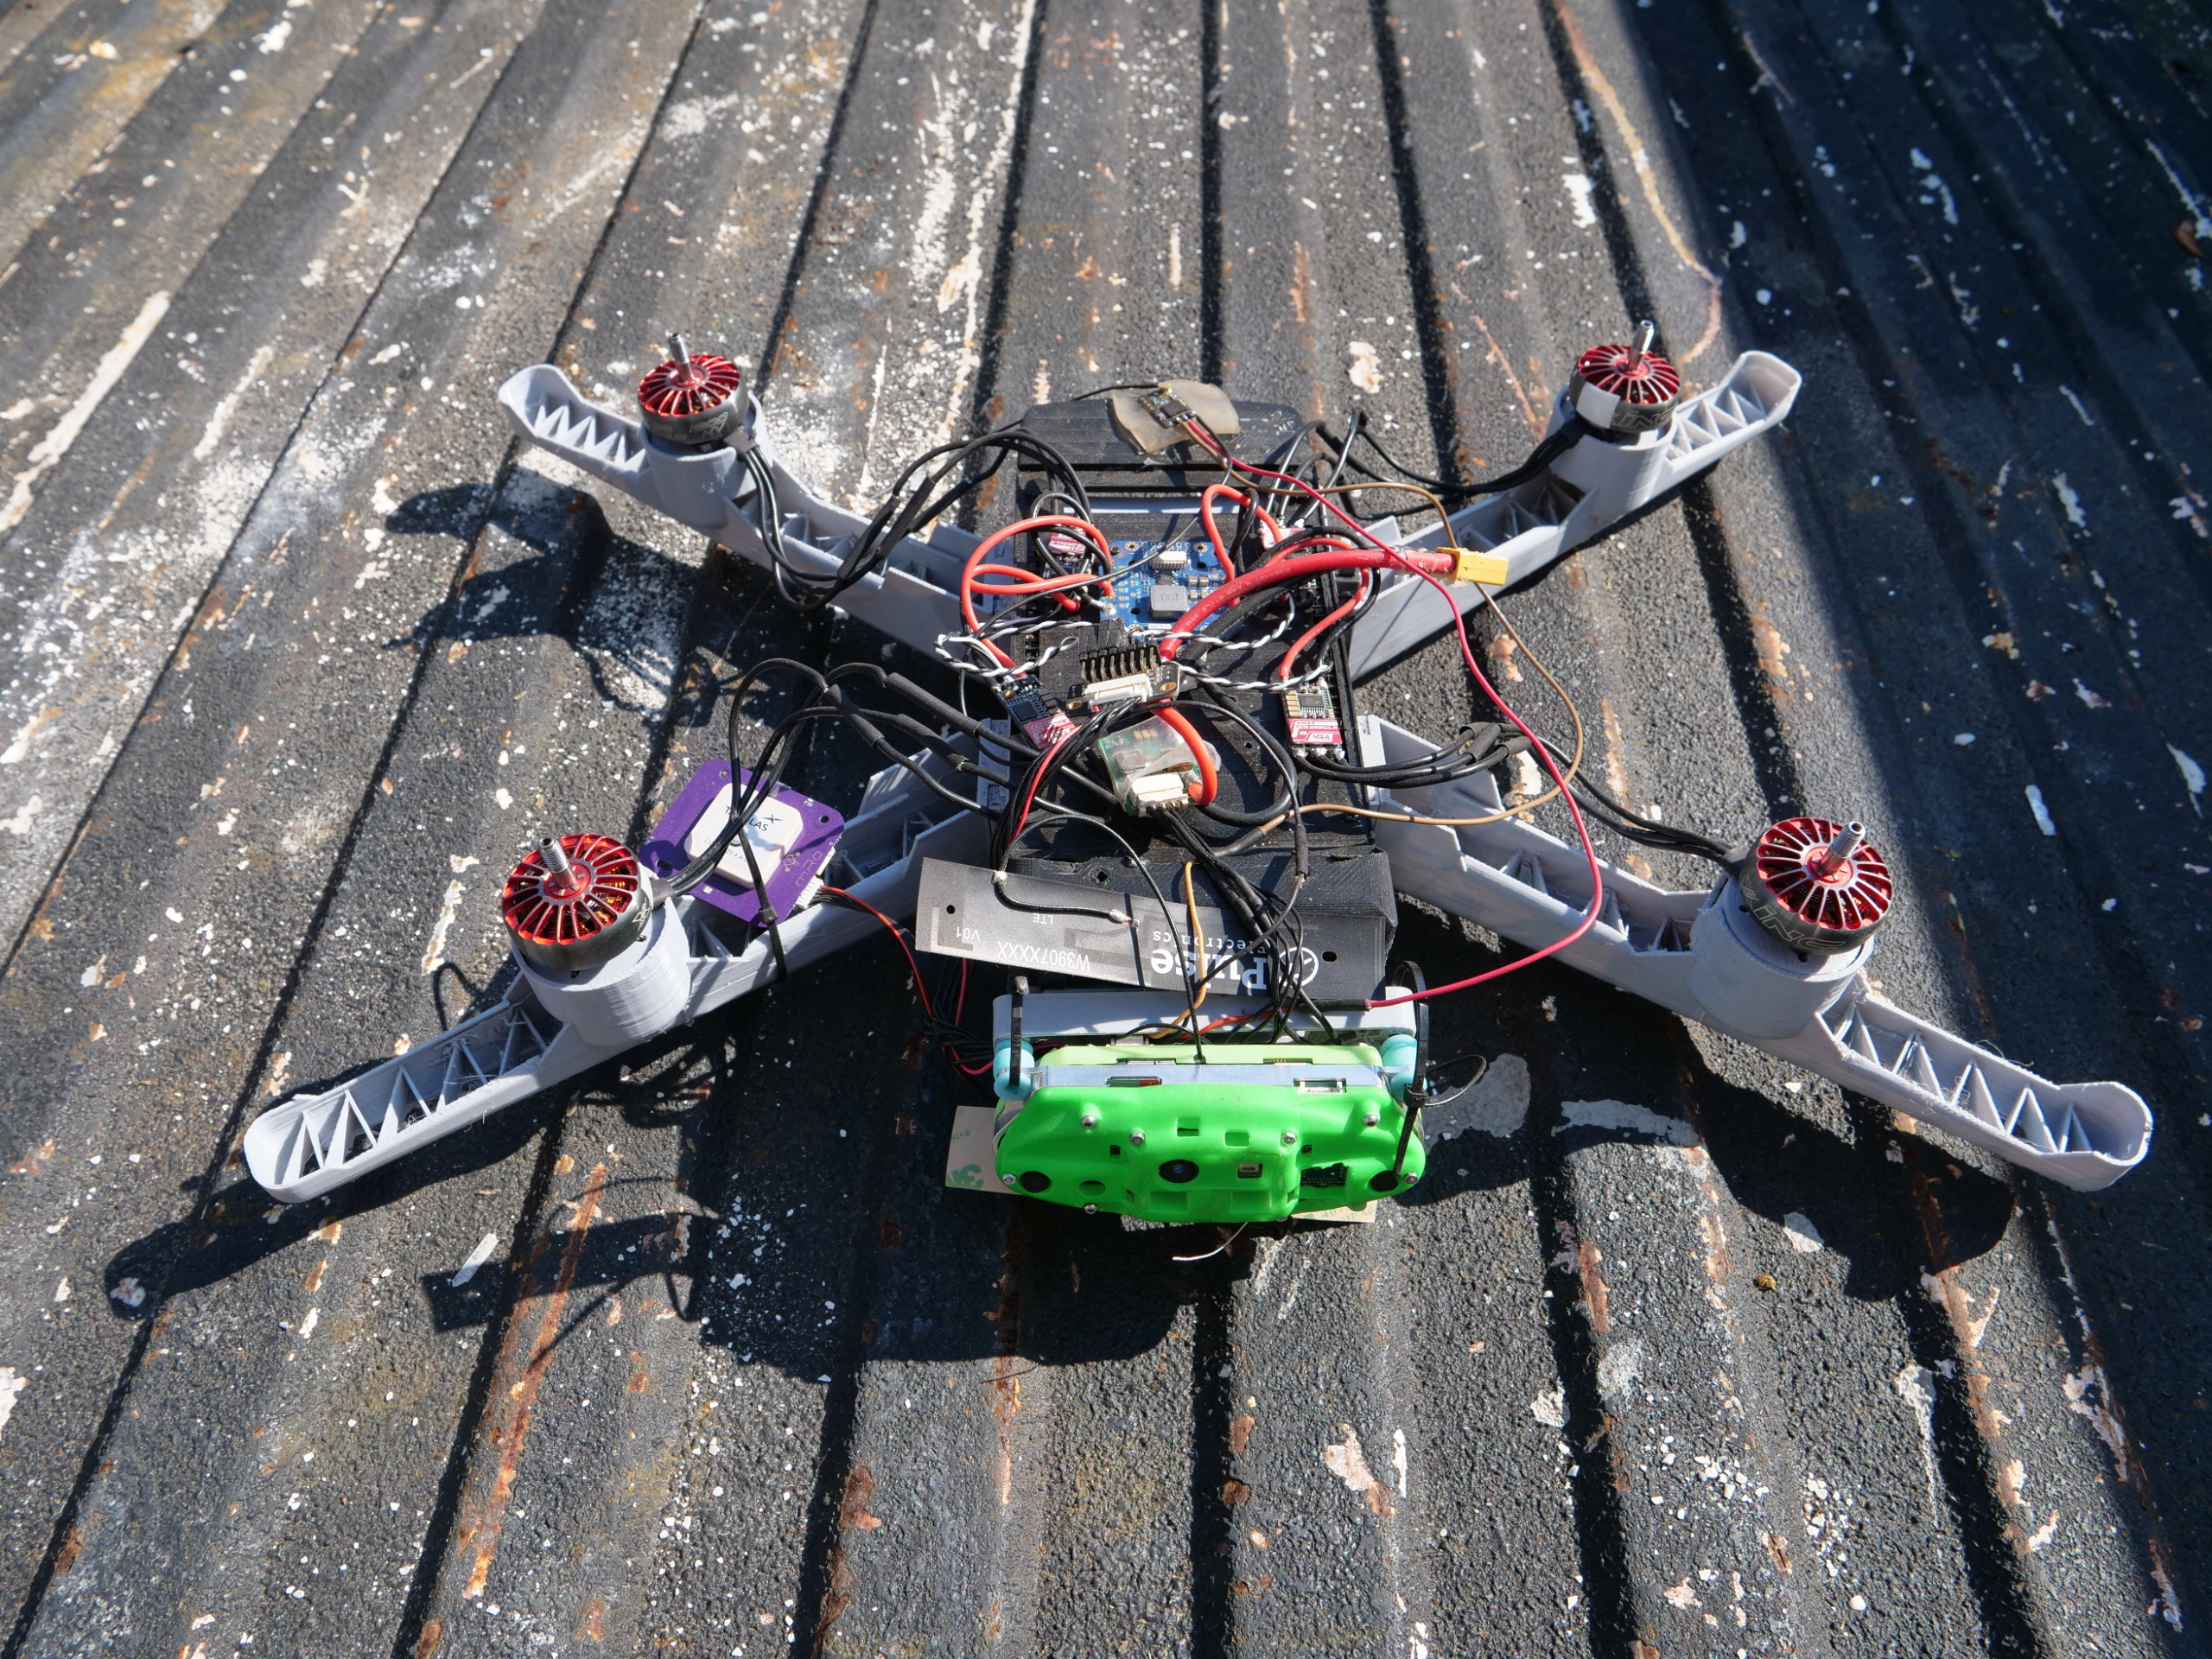
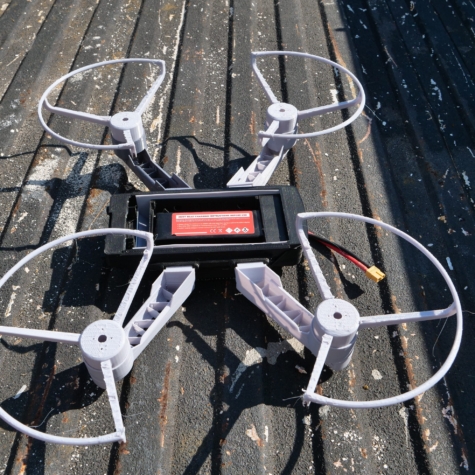
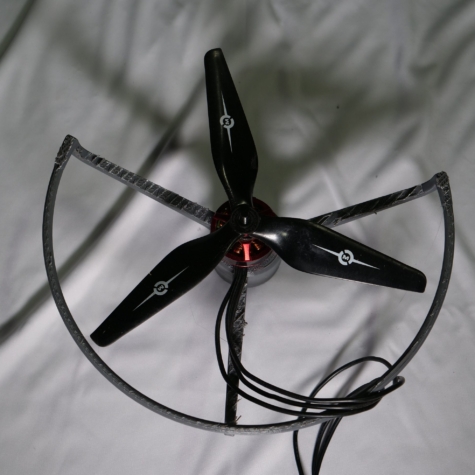
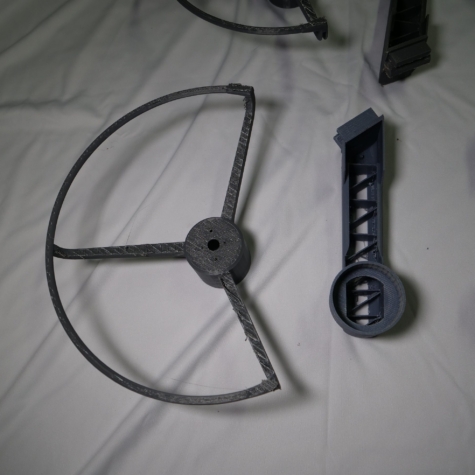
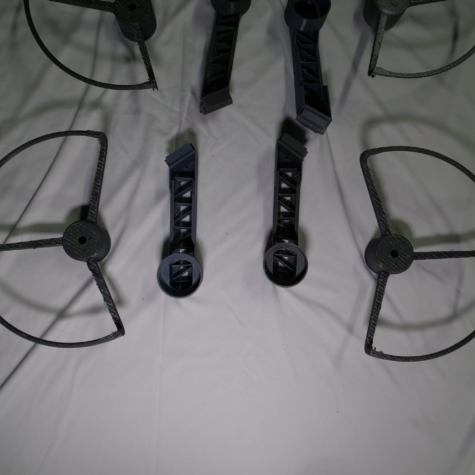
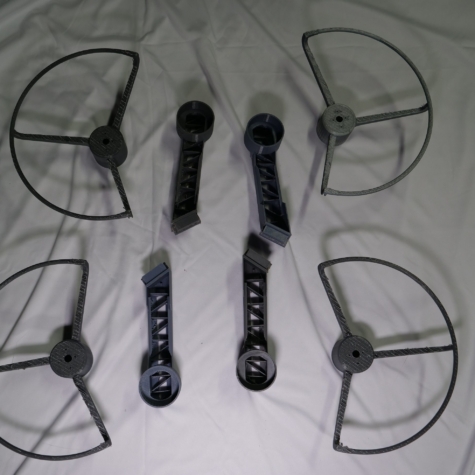
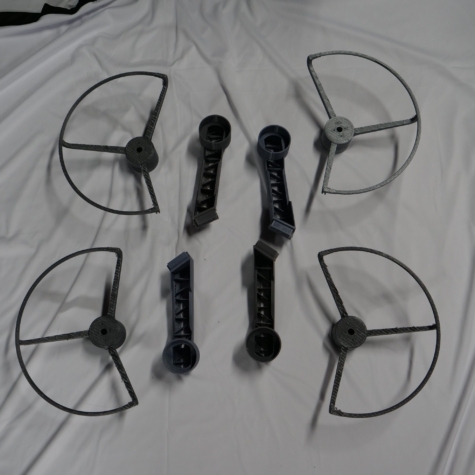
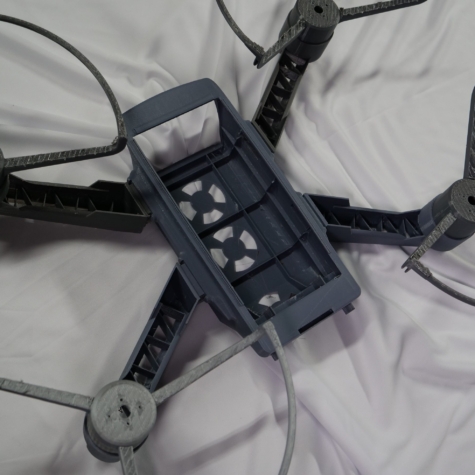
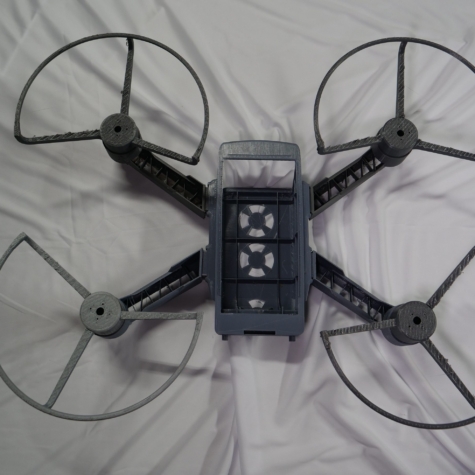
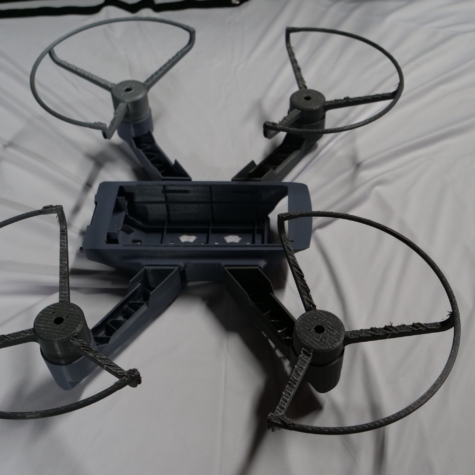
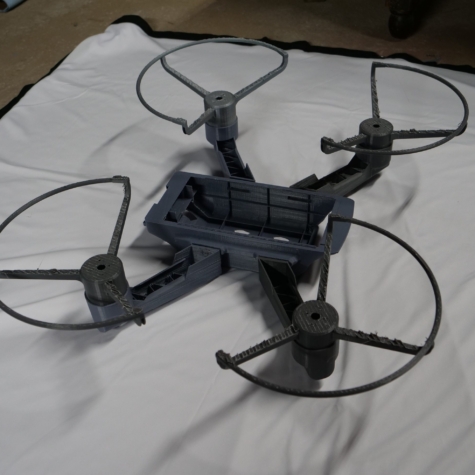
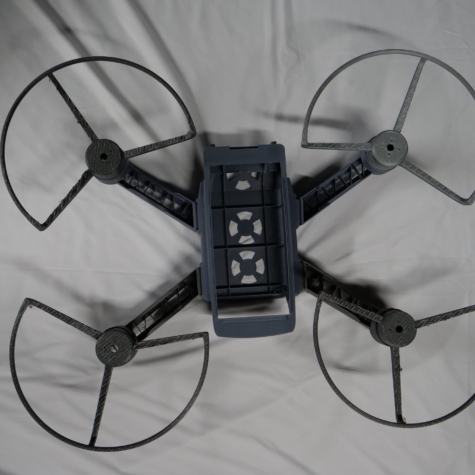
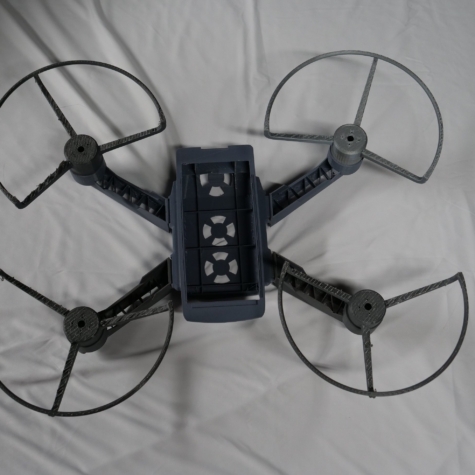
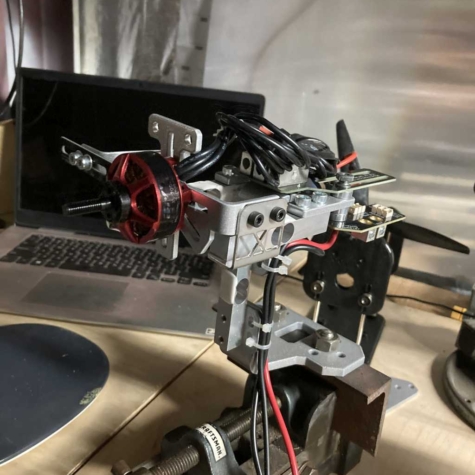
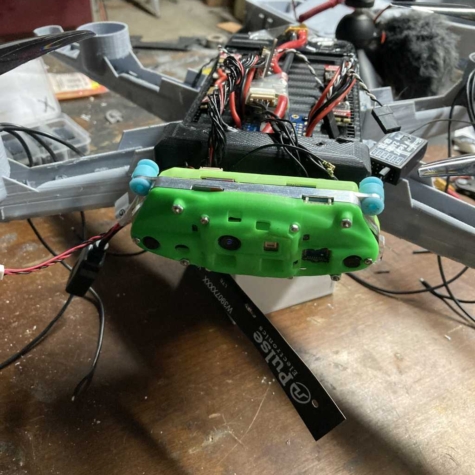
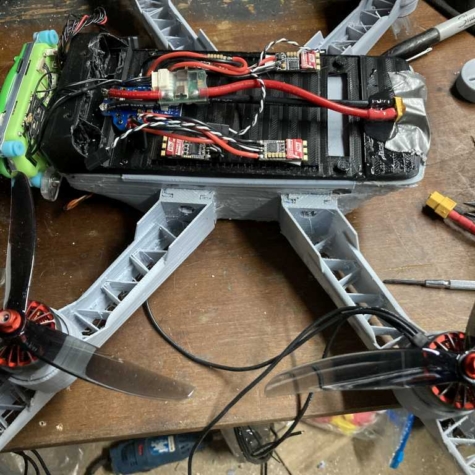
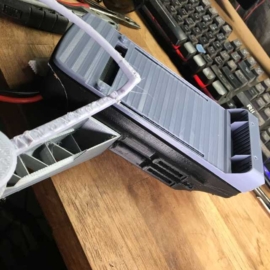
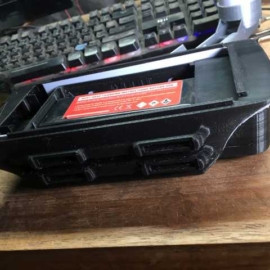
This Build removed the outboard tips from the struts. Their orignal purpose was to mount blade guard ducts, research proved these ducts didn’t provide a value compared to weight and production. Adding the guard to a motor mount insert proved to be a better result saving weight and material but still providing blade strike protection

Learning Fun
It starts as an idea, how to incorperate many TEK divisions into projects that make learning fun. Well sometimes not so fun but the rewards are stimulating. Learning is fun.
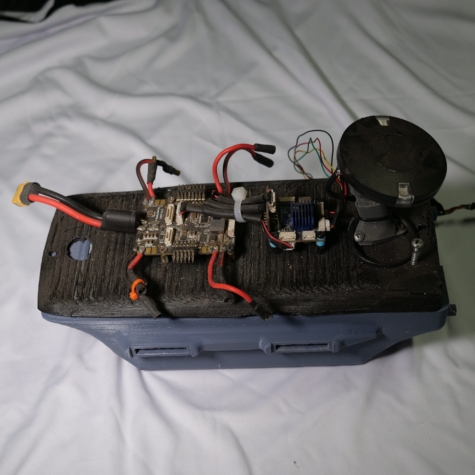
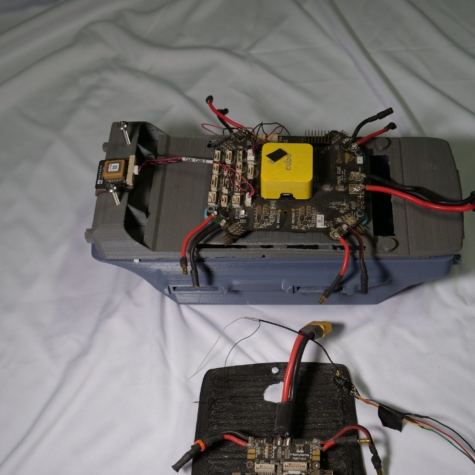
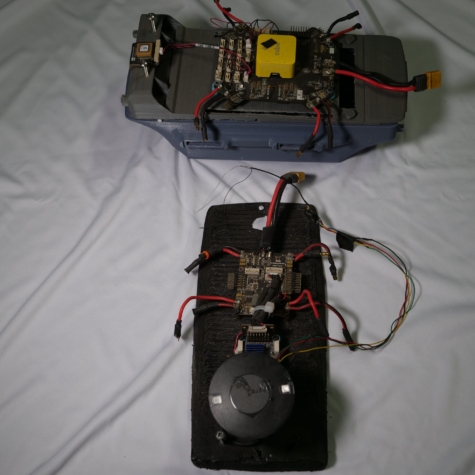
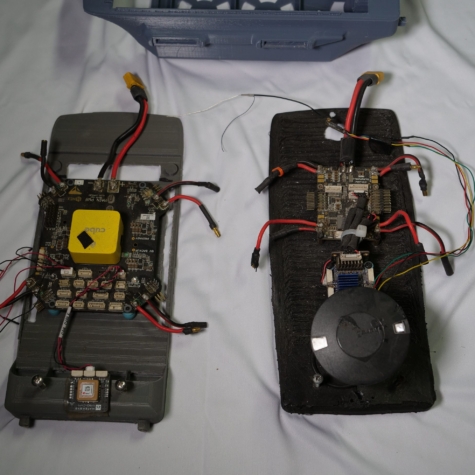
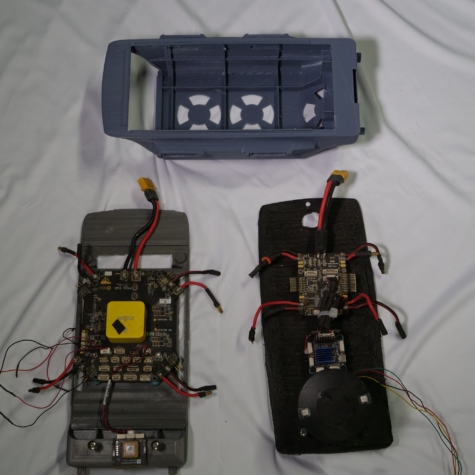
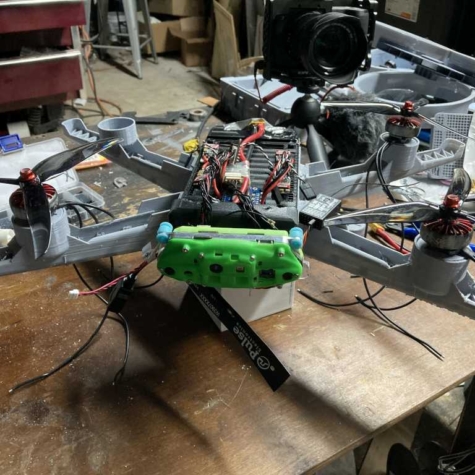
Because this is a drone website the topic here will be about this mess of items that actually turns into a very smart flying drone. Pictured above is the latest revision of our GPS denied capable drone that is designed and 3d printed in a home workshop. The science behind a project like this is extensive and completely amazing that it is all available as consumer products
.stl files are available for download apon request. Mods are welcome, feed back is appricated, learning unlimited
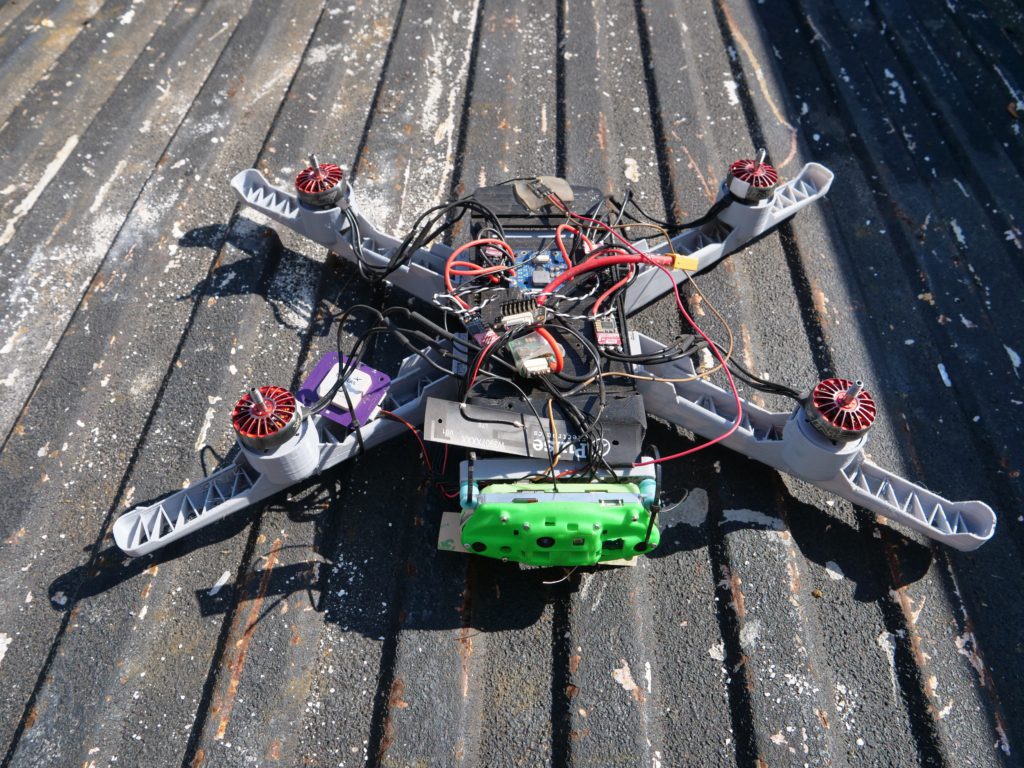
Attempts at designing a lightweight frame that can be 3d printed have evolved to R2. The image at the page top, we removed the strut ends and incorperated motor mounts into the blade guard
Upgrades and modifications
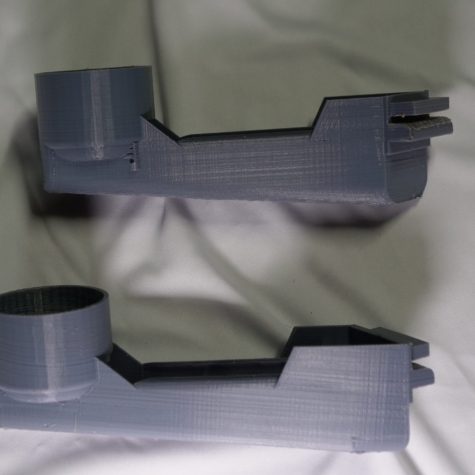
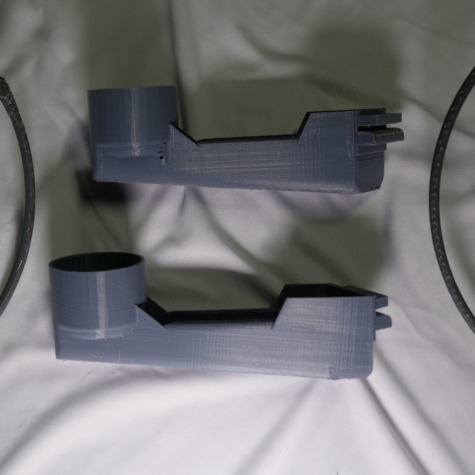
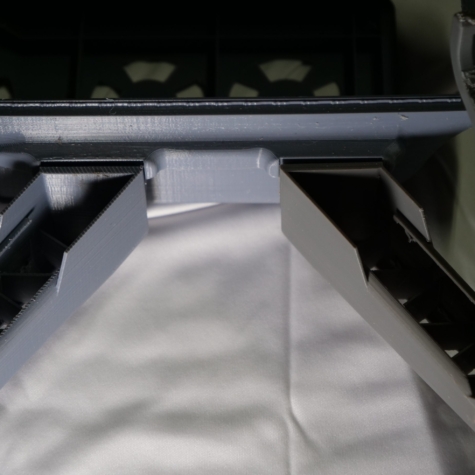
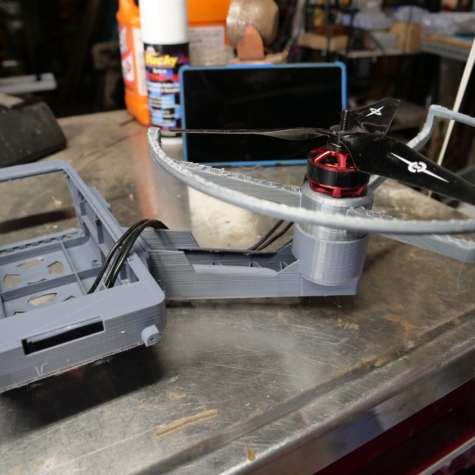
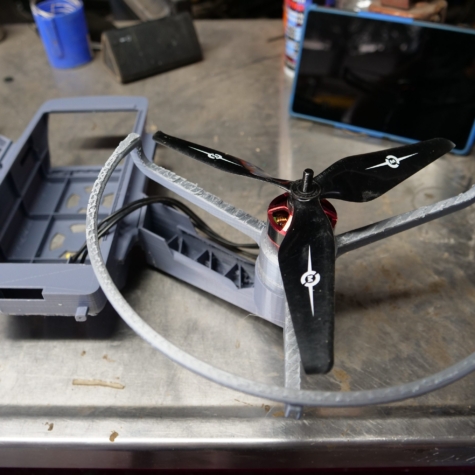
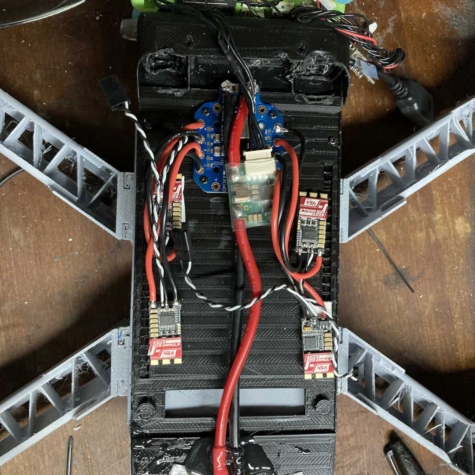
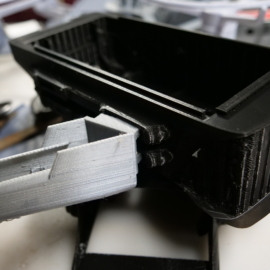
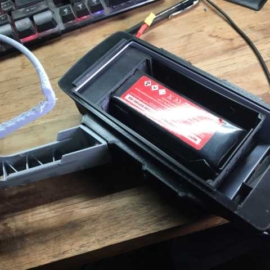
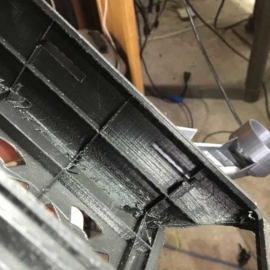
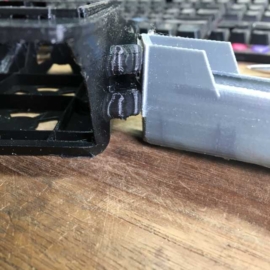
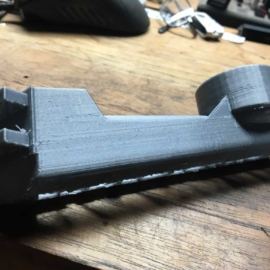
As I have been building several sizes of the Rooster it became clear that there was some flex in the body when up or down pressure on the strut was applied. I made a cover stiffener and this worked combined with the upper deck being fastened but still the printed body didn’t have longitudinal stiffness and the printed layers had a tendency to crack. This ver of the body with the modified mount, a long molded addition worked great so I figured I would just add another below it and put a second mount extension on the strut. Now it has the body stiffened in two locations and the strut mount is solid.


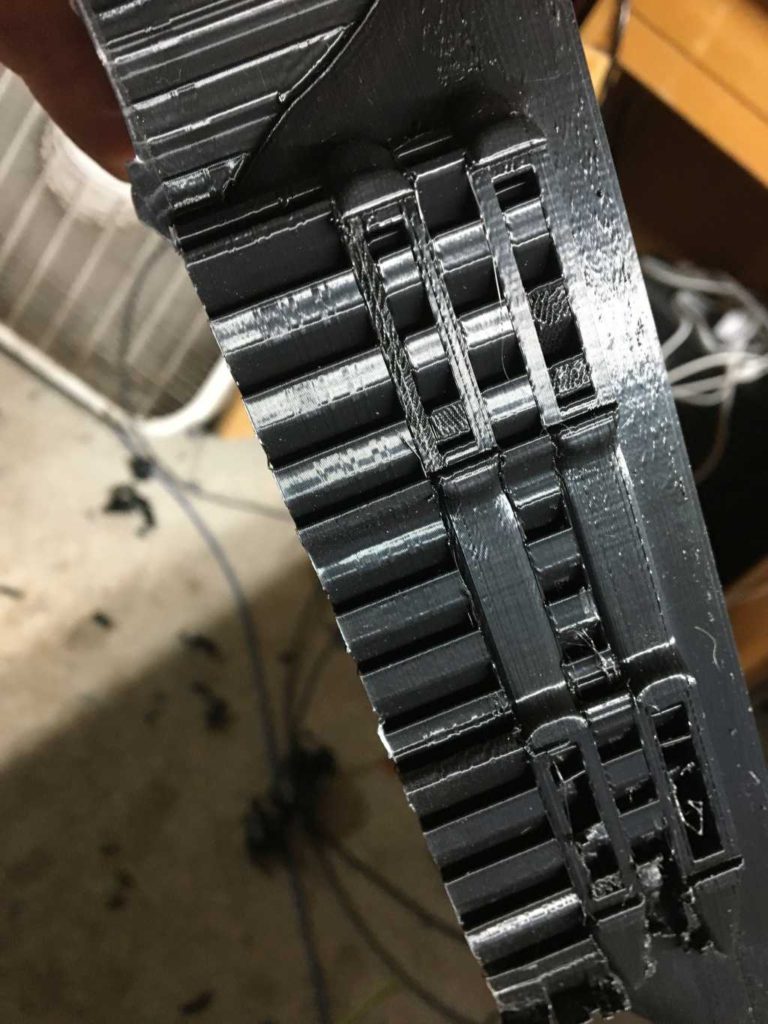
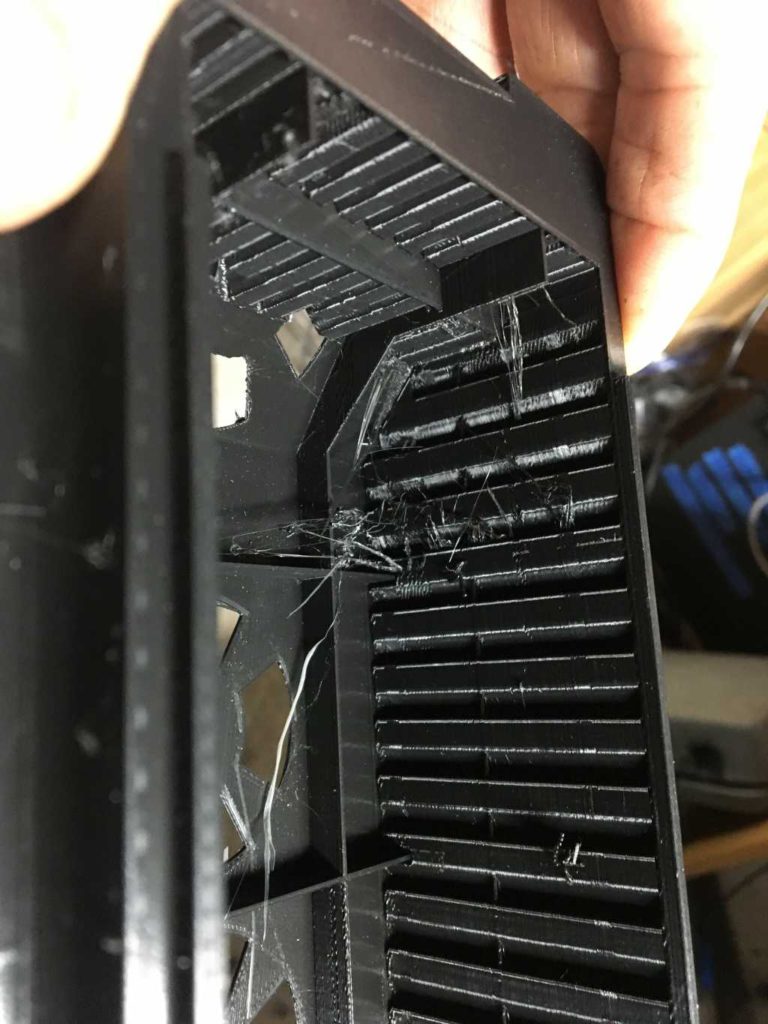
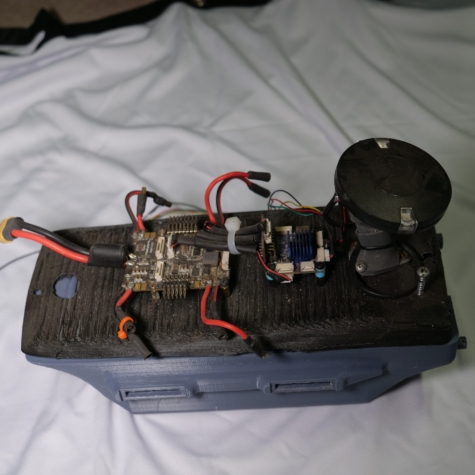
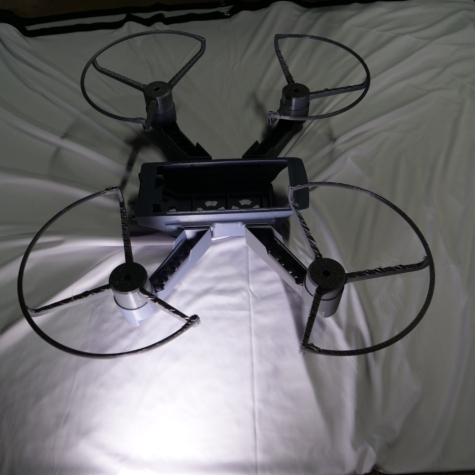
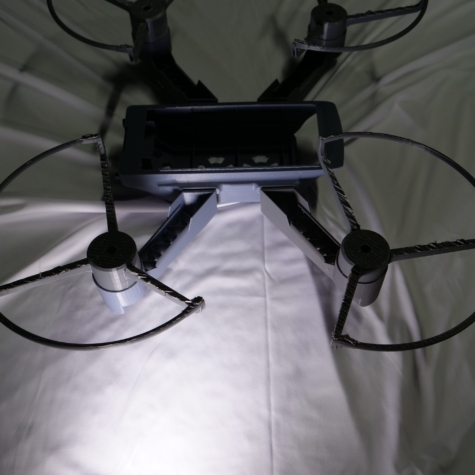
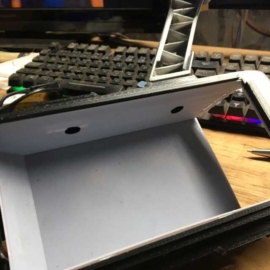
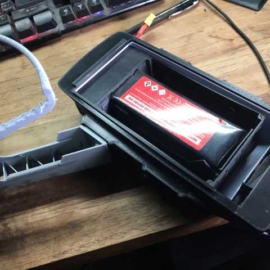
Printing the body creates some waste and takes a little time, using pla requires some experience on cleanup, the material melts when worked. Here are pictures of the latest files cleaned up getting assembled


