
The decision to restrict usage of China made drones was a good one.
This is a timeline of our drone development program. Sometimes you just have to do it yourself.
Getting started in drone operations is a pretty simple endeavor. It’s so easy and inexpensive lots of people try their hand at opening a drone services business. One thing for sure the business is so new the opportunities are vast, that being creative can go a long way. We will also cover industry trends that are opening up new venues to use air drones for hire but the primary objective is to highlight the components of building a drone from the ground up, tailored for a specific use. This is important because there really isn’t a one size fits all solution.
This post is about a complete solution, not the standard go buy a china made drone and do your best, but a development environment. Our business started with doing research and purchasing a drone we believed could pass muster for US operations. Drone services like video, imagery, and inspections. Our selected unit was advertised as data safe but in the end we wound up with a proprietary design that we were not able to modify. The 520e was sold to us as open architecture PX4 based but turned out to be a closed system not giving us access to develop it. Overall our intention to purchase 20 of these units ended with us happy to only have a few. What most people find is the drone they purchased can only use components developed for that specific unit and lots of time the same manufacture doesn’t allow using the payload from one model on another, things like this are not only frustrating and costly there just dumb.
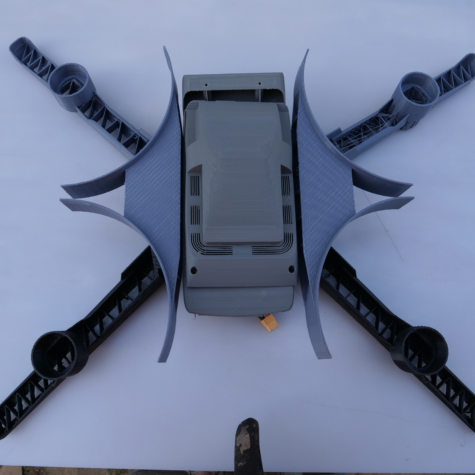
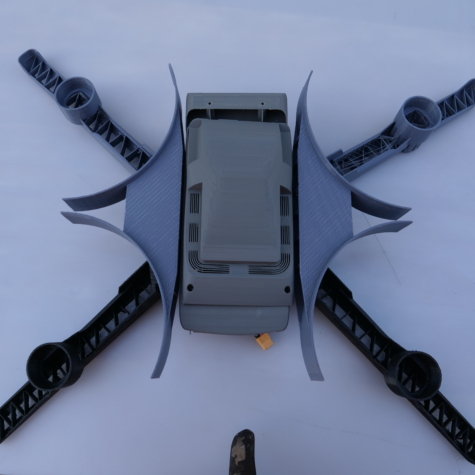
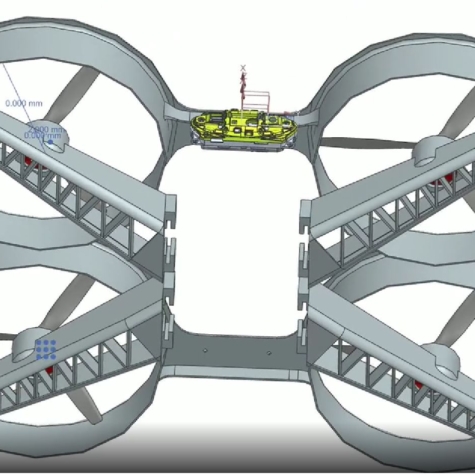
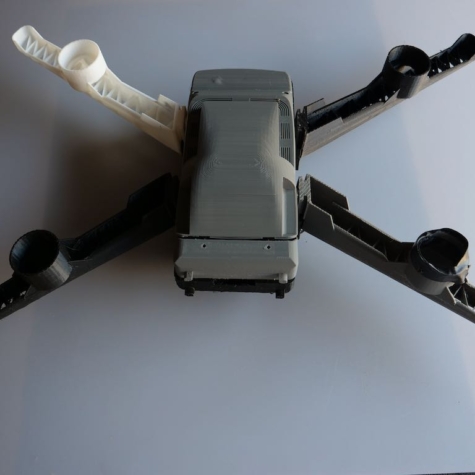
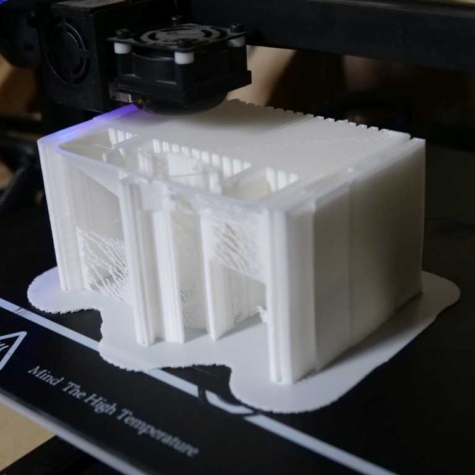
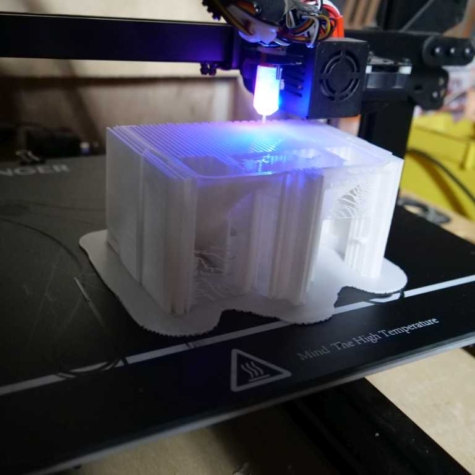
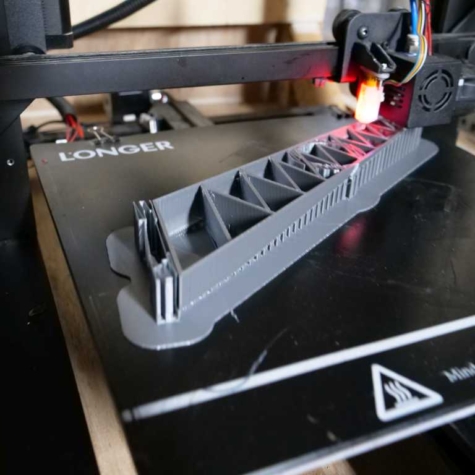
It’s a learning process and a pretty difficult one at that, and on top of that we wanted to design and develop our airframes in-house with 3d printing technology. To break it down we had some basic requirements and then some specific ones.
1st. and most important it had to be open source and use no proprietary systems
2nd and the most important for this build was it needs to be able to operate in GPS denied
environments
3rd. US Made components or at least no china data links, or electronic components.
This is a difficult proposition primarily because of cost. This is temporary.

a design engineer on Fiveer freelancer site.
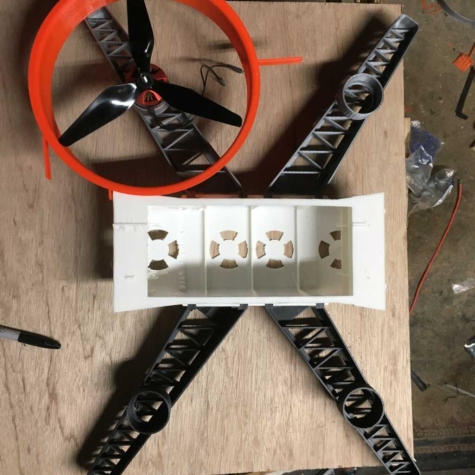
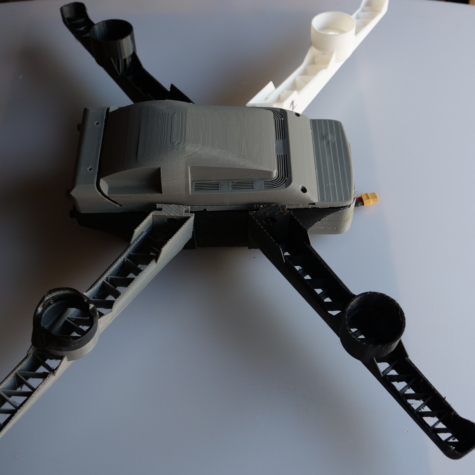
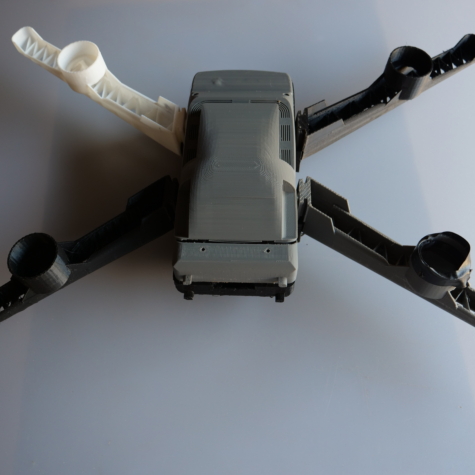
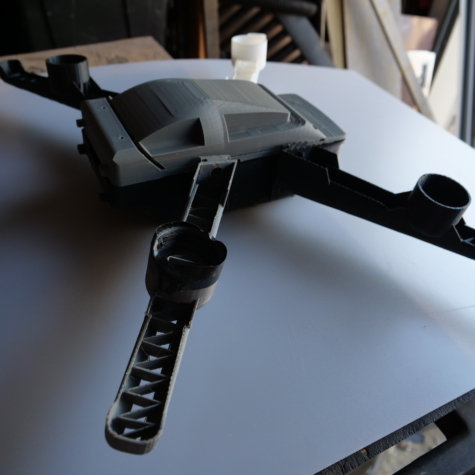
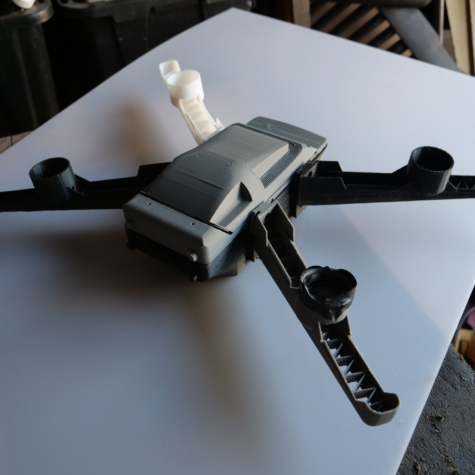
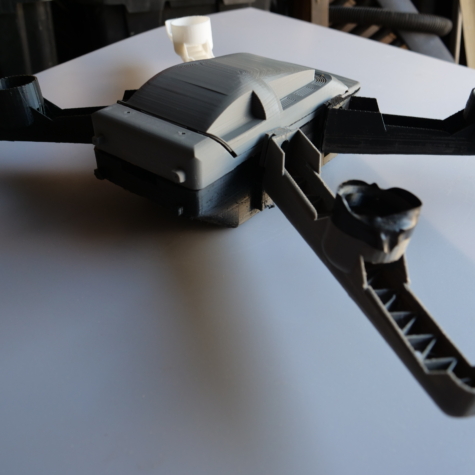
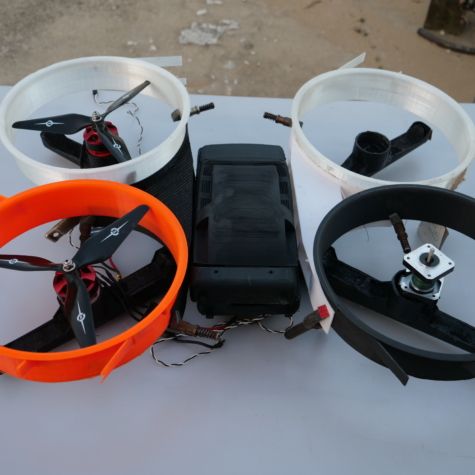
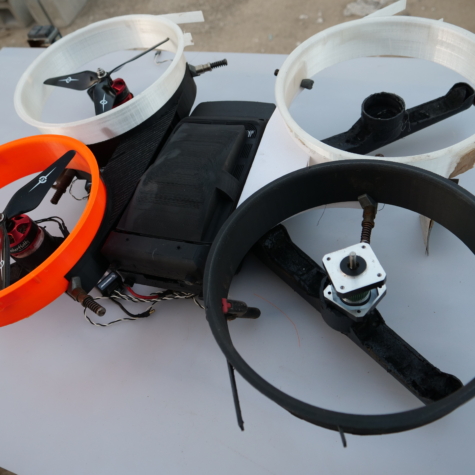
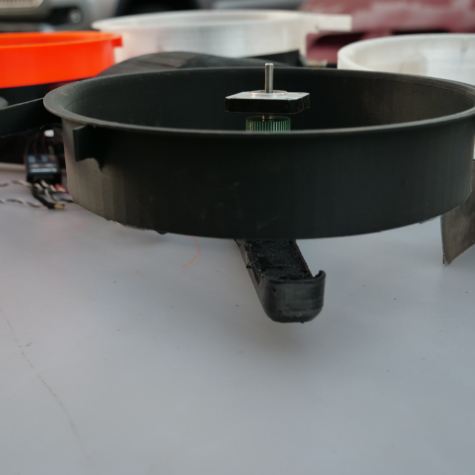
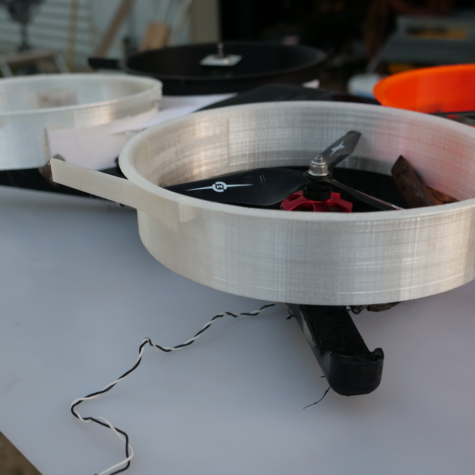
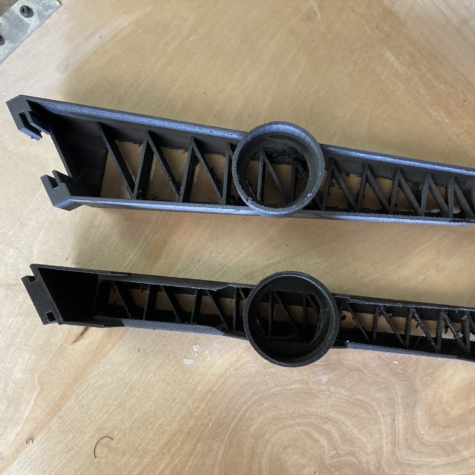
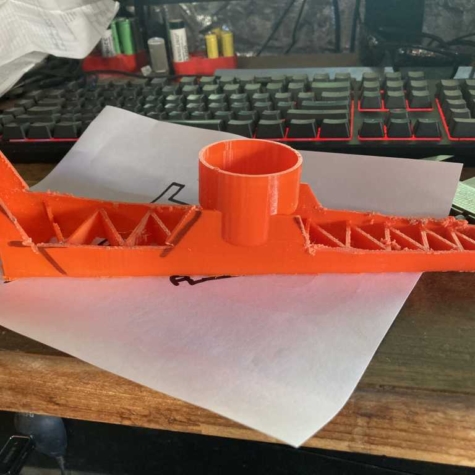
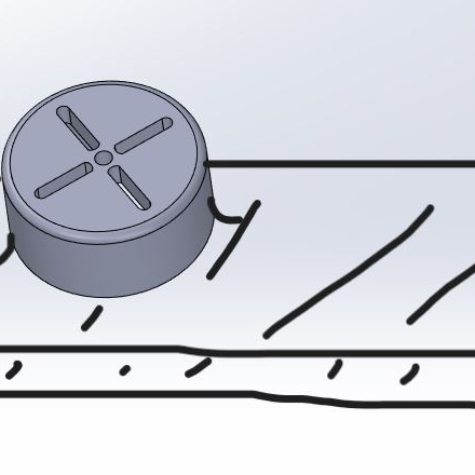
After a couple attempts we worked our way to this design. Also as a requirement was blade
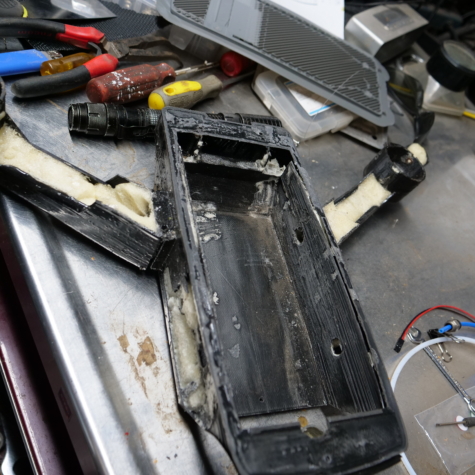
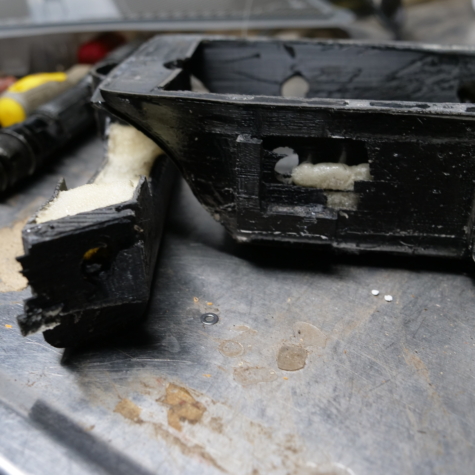
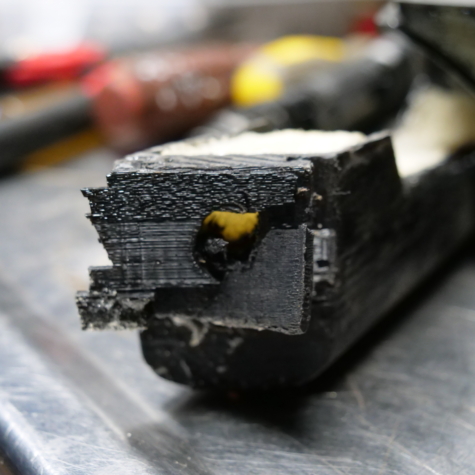
guards, and as mentioned this had to be a in-house 3d printed frame. If you have any experience with 3d printing you understand the process requires alot of trial and error. Our
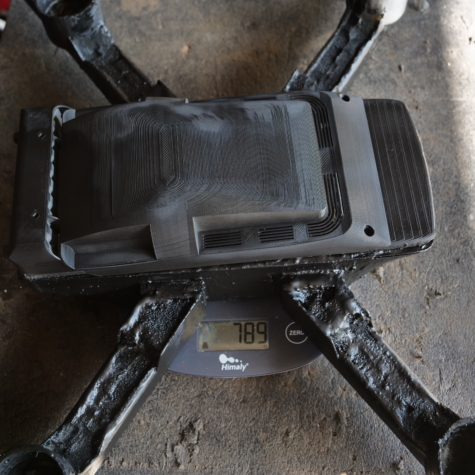
first attempt left us with an bulky and heavy airframe. The design was what we requested , it’s just reality happens and you realize weight is a big factor and the main objective is flight time.
Technology will continue in battery design and weight/ performance will get better.

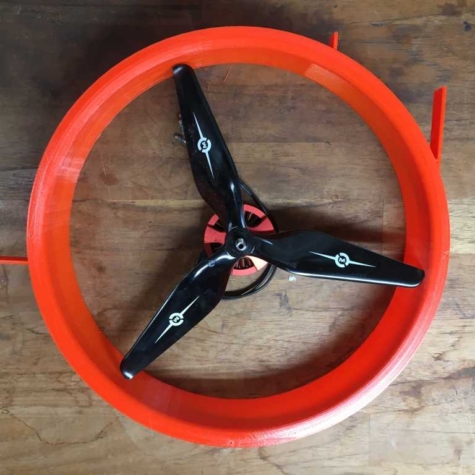
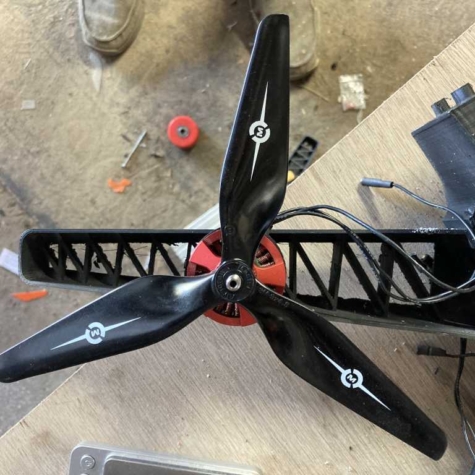
Make changes as needed. 9in 3 blade was the selection after doing some calculations
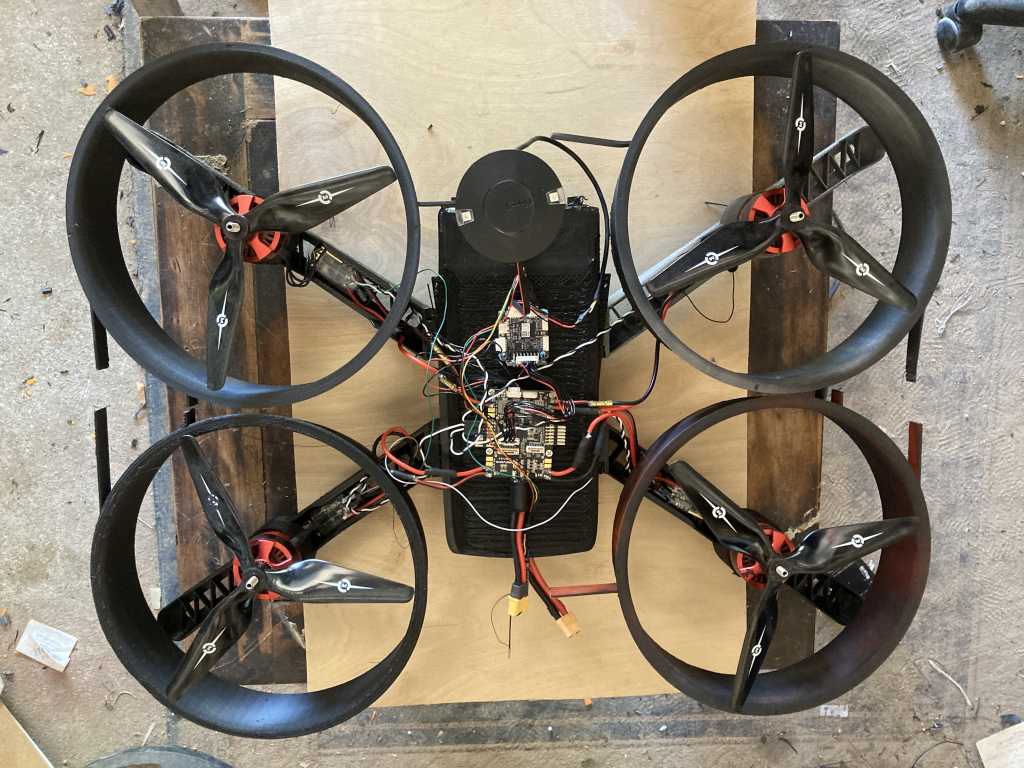
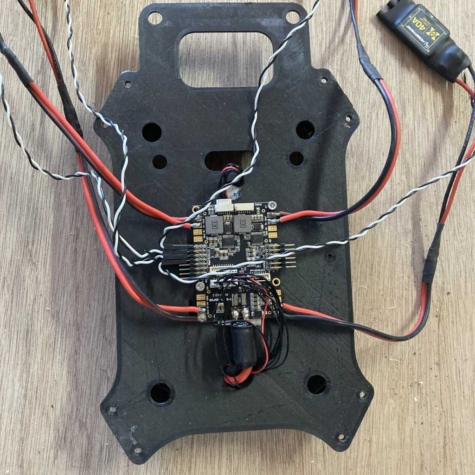
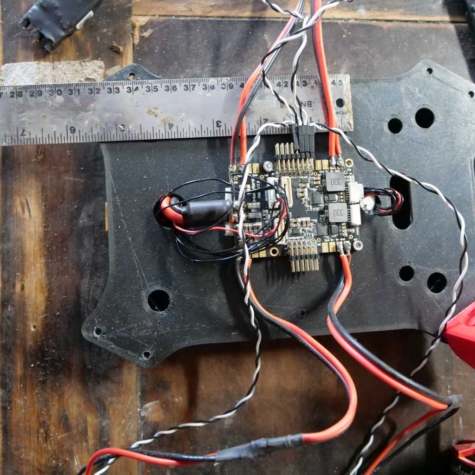
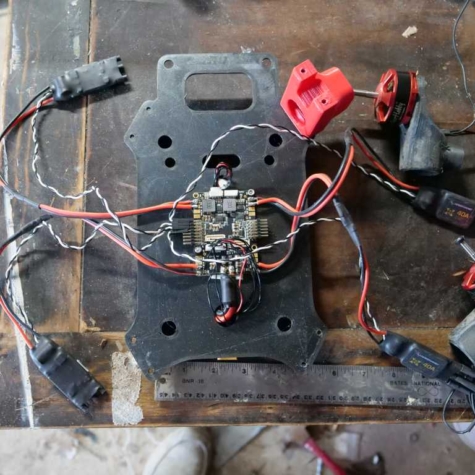
Body and Computer
US manufactured limits options especially on price but then again this is a airship and
quality control is essential.
Flight computer os is Ardupilot.
Mission planning and control center is Mission Planner
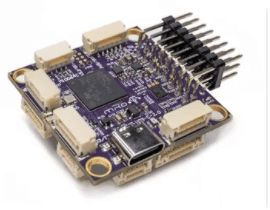
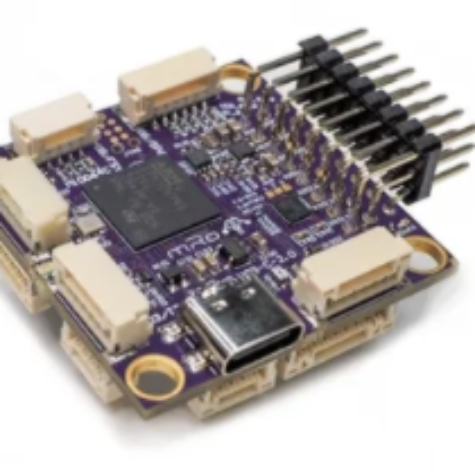
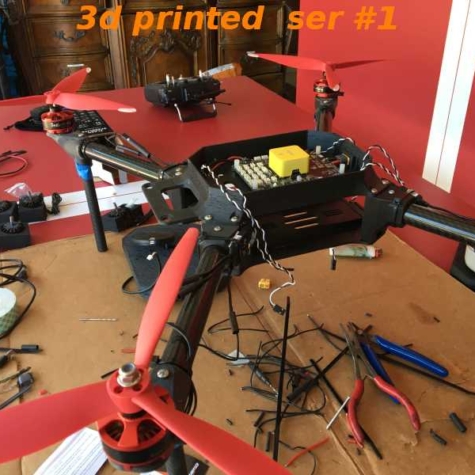
Prototype #1 is using MRO PIXRACER PRO
Prototype #2 is using the Modal PX4 controller
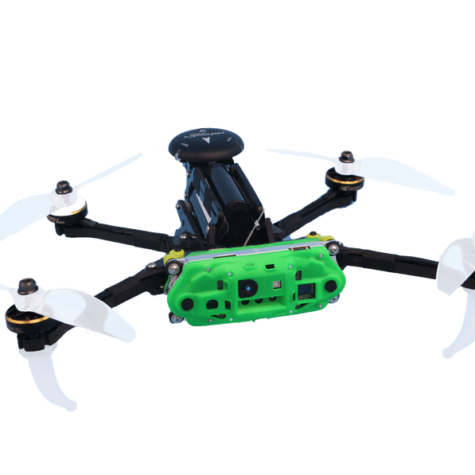
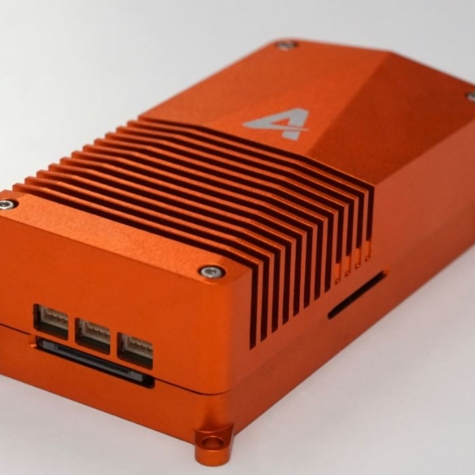
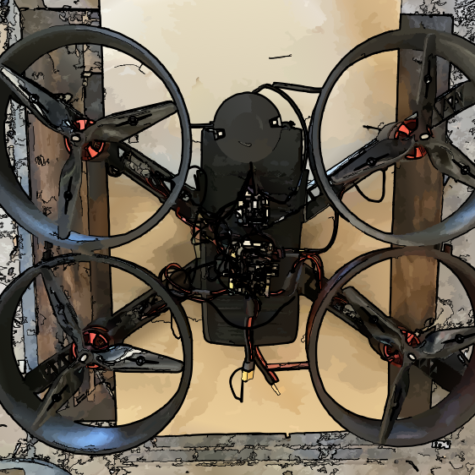
The MODAL VOXL Flight complete solution for a couple reasons. First the seeker development concept that puts all the essential elements in one component is just efficient and also getting 4g cellular option just makes it a real jump start on working in the GPS denied environment
Prototype #3 is using the Raspberry Pi computer with Navio2 autopilot
Builds in the beginning are using different controllers leaving the builds with the VOXL for testing with proven airships.
Recording this process will be highlights and of course miss=steps. The build process should start with detailed design review and
determining specifications of components but that would be the corporate process, this being a startup business it’s all trial and error
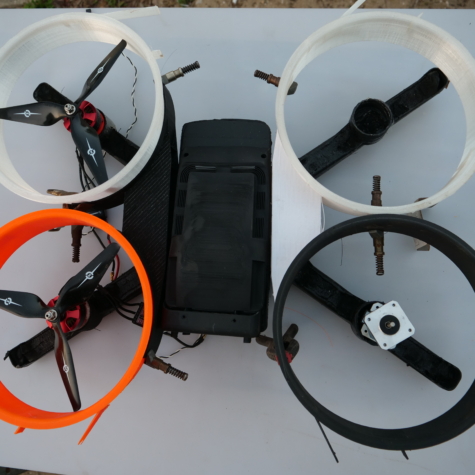
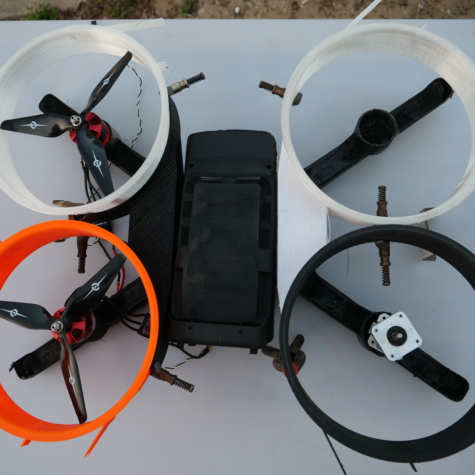
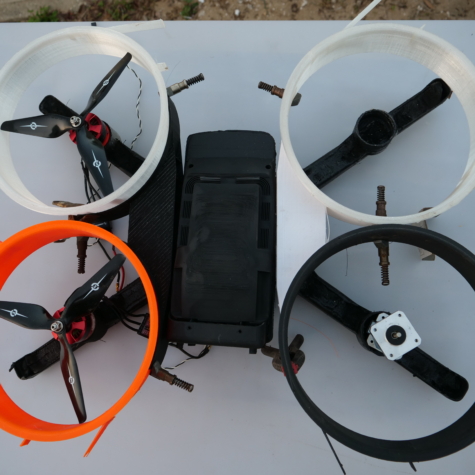
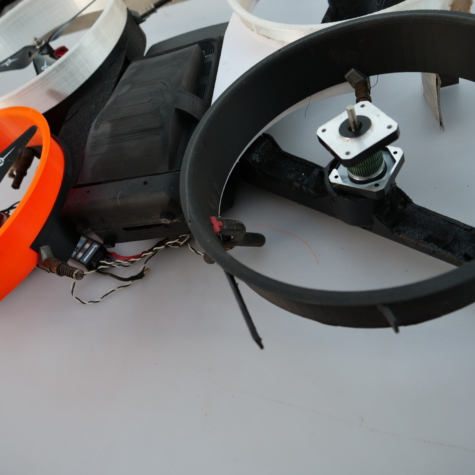
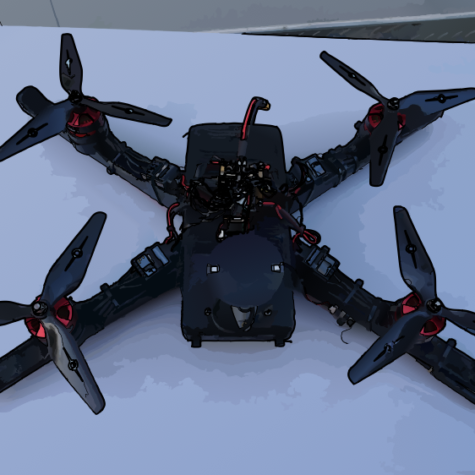
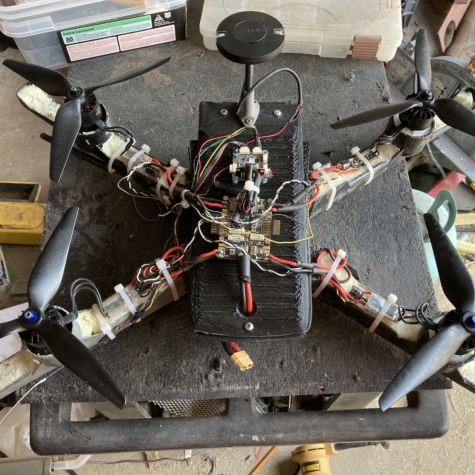
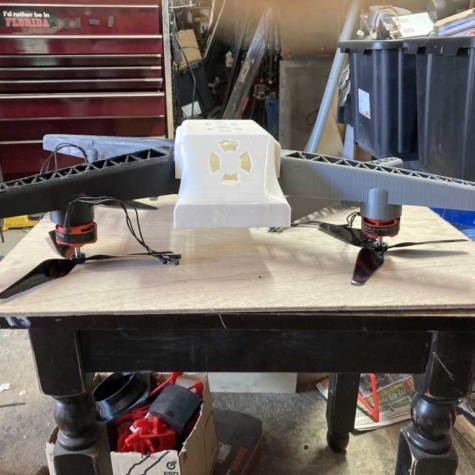
Build #1 Rooster
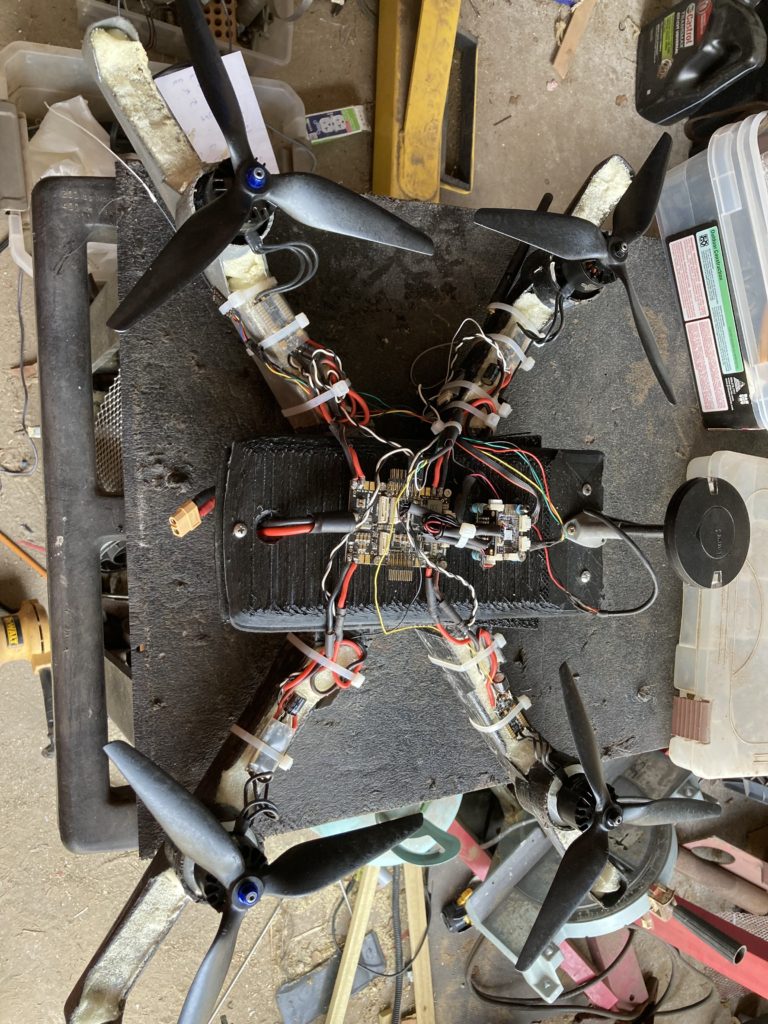
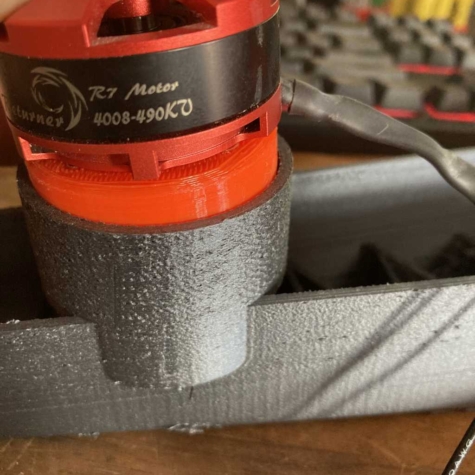
melt the motor mounts. The attempt was several days of trying to sort out mission planner and RC control programming. Ver #1 was retrofitted with new motors and ESC then wound up as crash #1. It was later learned with
crash #2 telemetry the drone would go into RTL mode, thus going vertical and my panic lead to the kill switch.
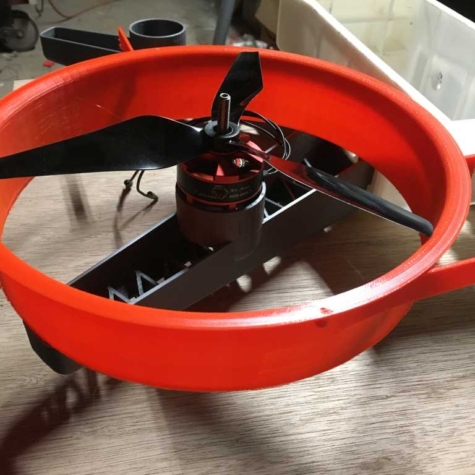
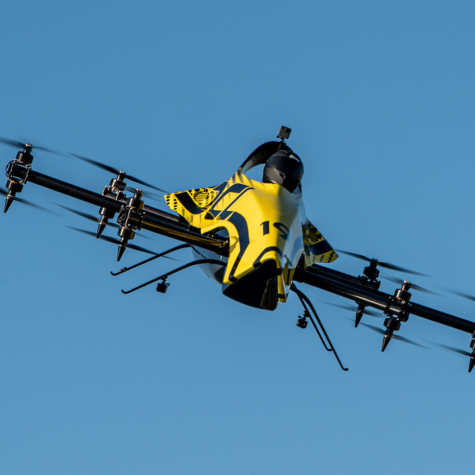
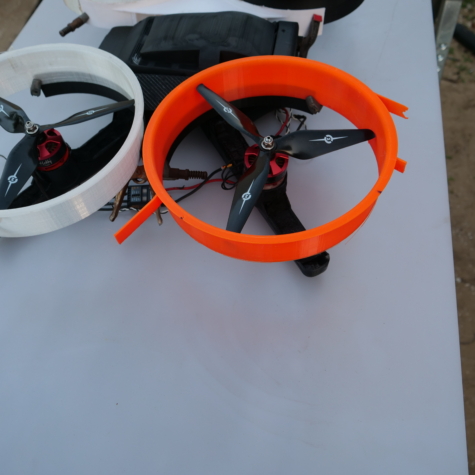
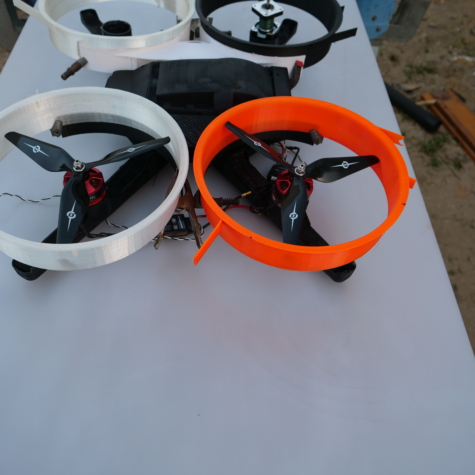
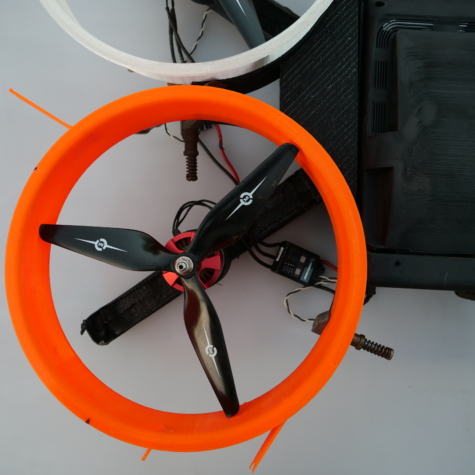
Smaller and lighter using 4s battery this SEEKER is a real performer
efficiency motors and duel blades with blade guards. This is a complete solution for operating in GPS denied environments. Open source community for advanced development, 4G cellular connectivity, This is the best solution
for in-house development or advanced drone application programs
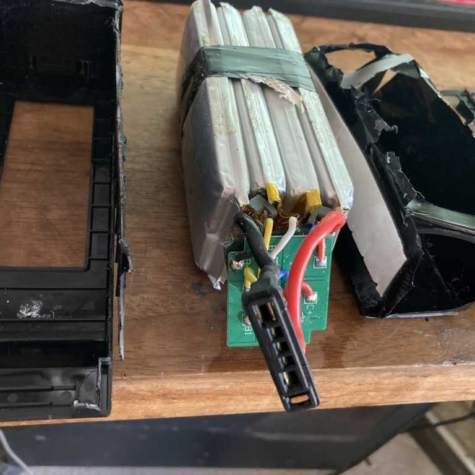
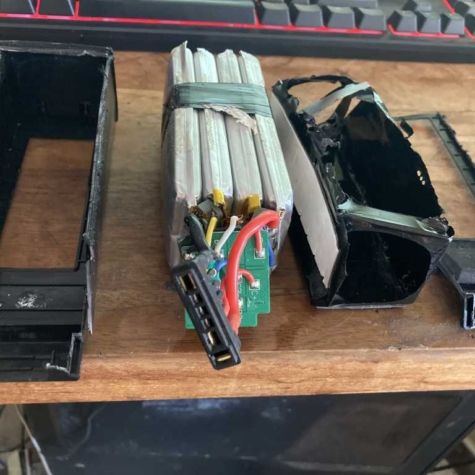
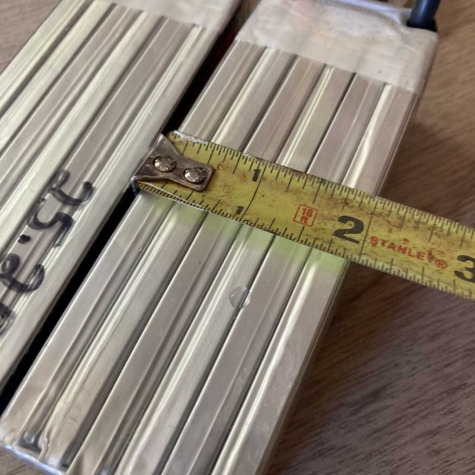
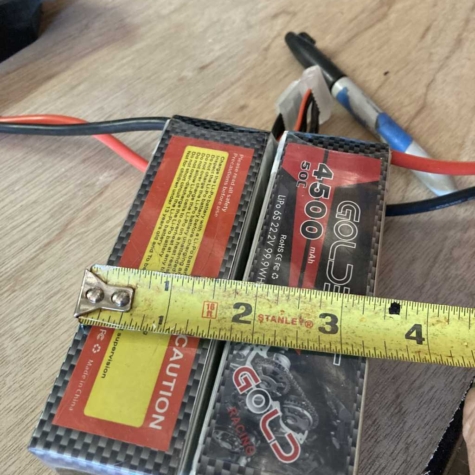
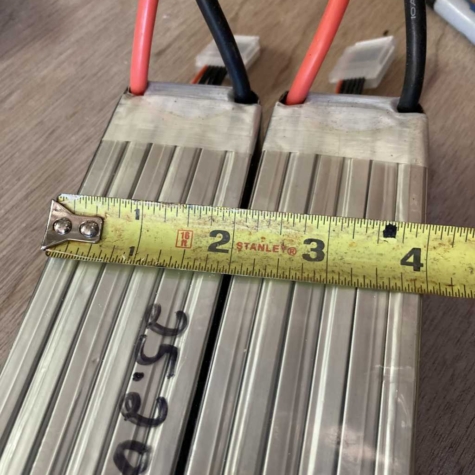
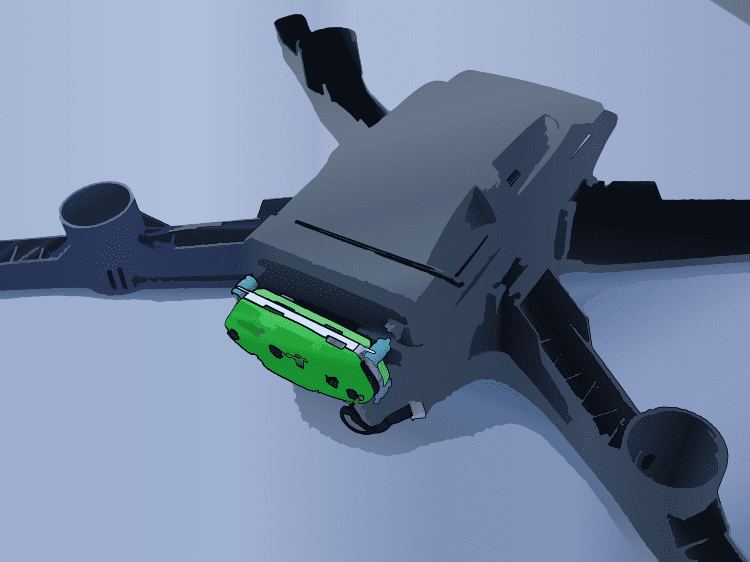
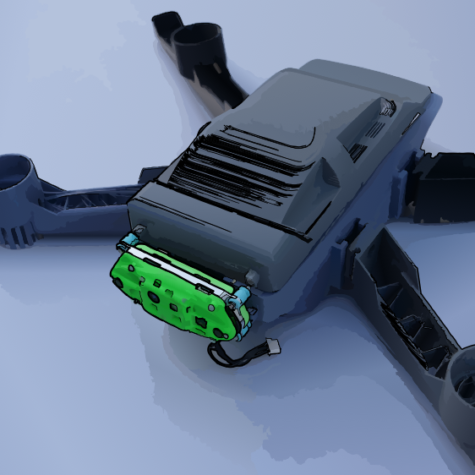
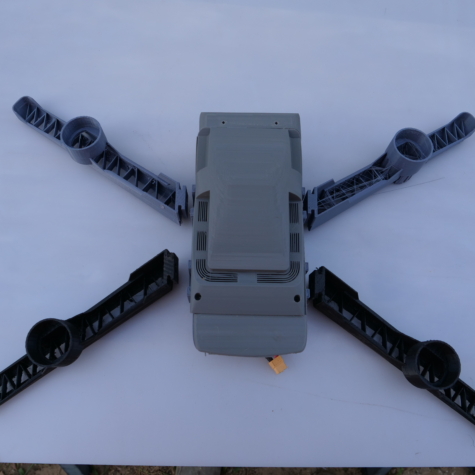
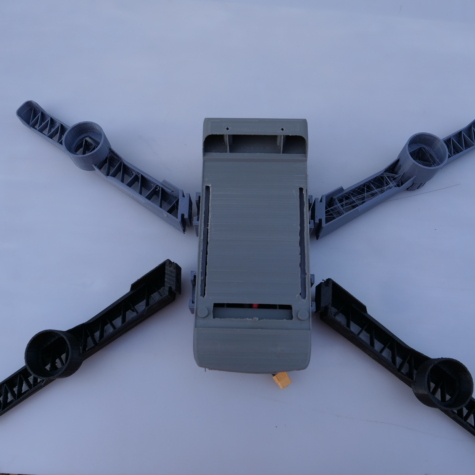
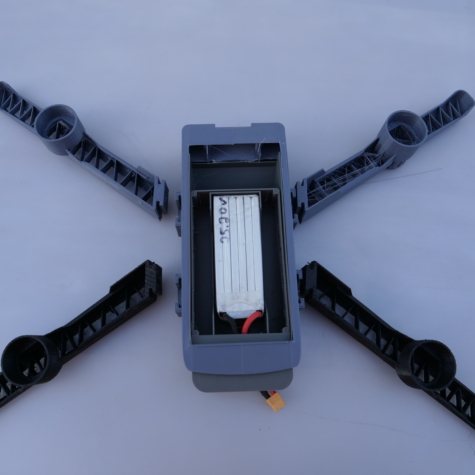
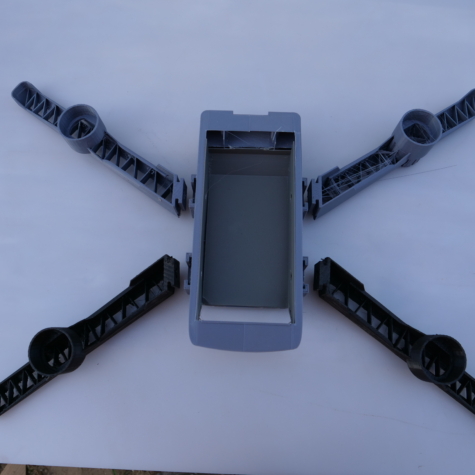
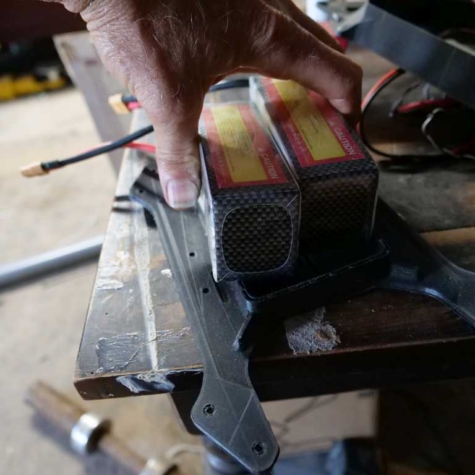
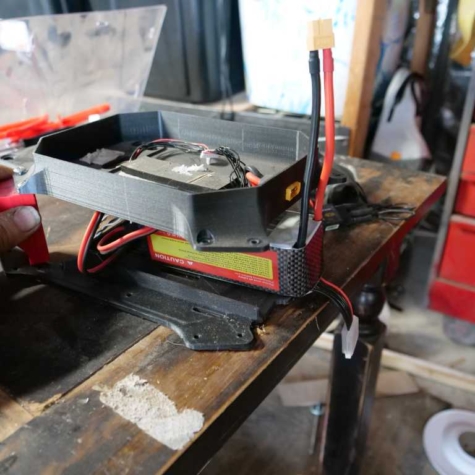
Elements Battery
This is a commercial use drone build.
6s battery was the desired selection, I think it was to much for the first motors but not an issue with the new largers ones. Problem with 6s is they weigh 1lb., funny it was intended to use 2 for this application.
Tester Flight Computer
We wanted a performance flight computer and was able to stay true to US made with the MRO brand pixracer. This unit is fully supported by Ardupilot and PX4
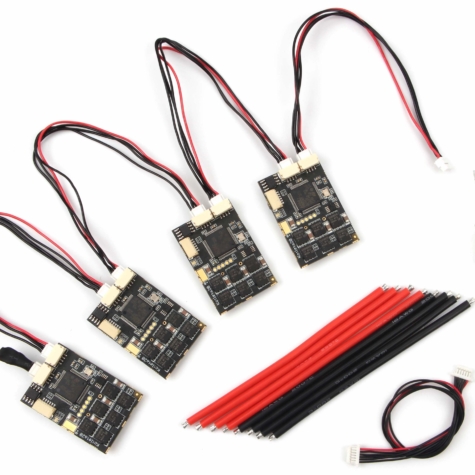
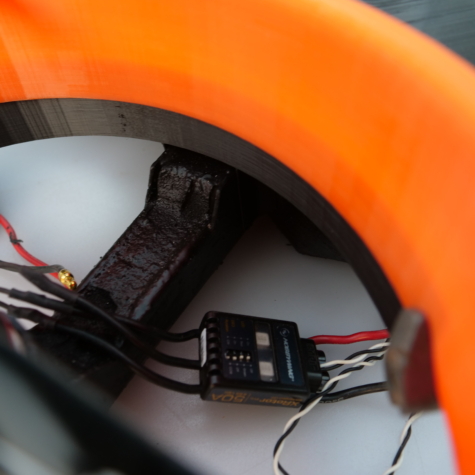
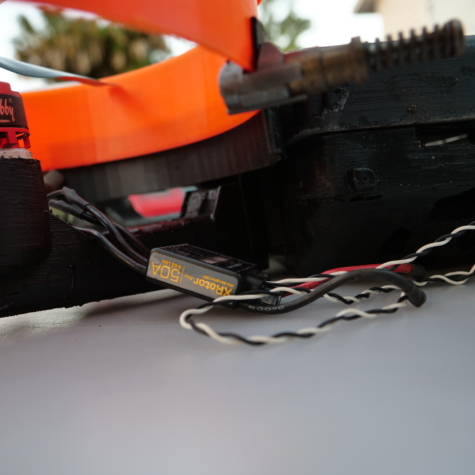
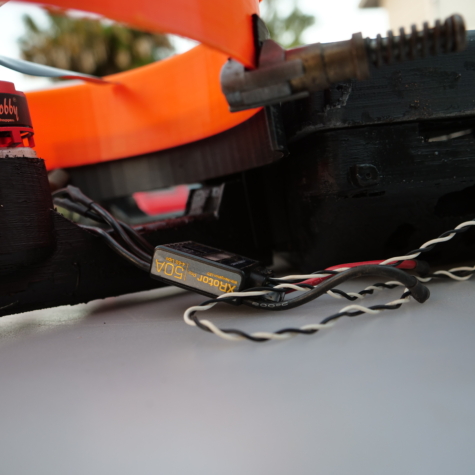
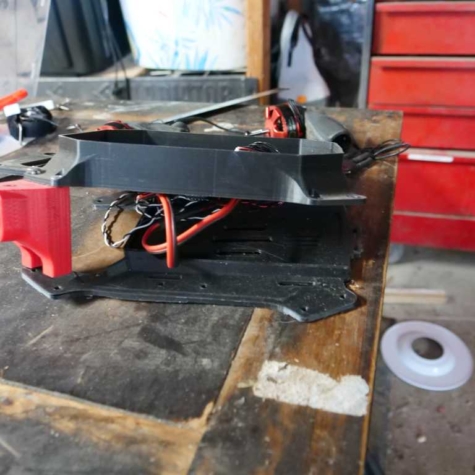
Power Distribution
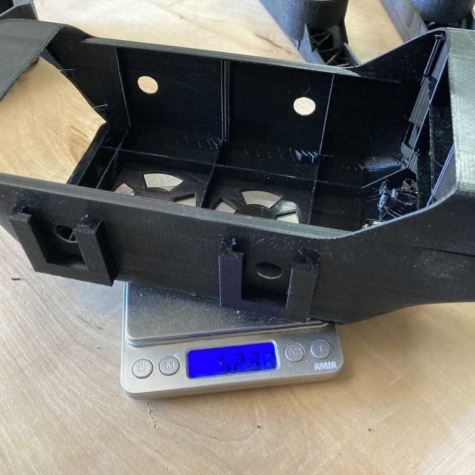
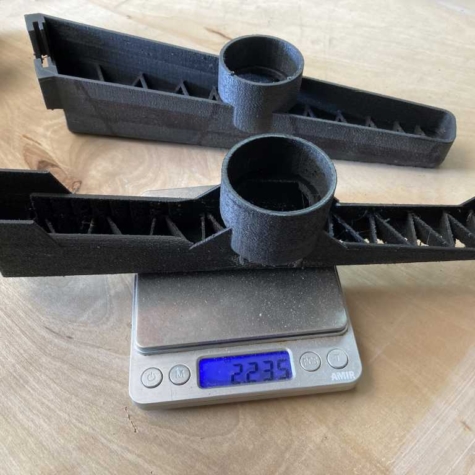
The testing versions use a standard Holybro PM07. it’s available and cheep so it’s a good tester, it’s also compatible with the OS. This is a basic function board and we have canbus power modules for our seeker setups. The final builds will incorporate can-bus ESC and sensors. Testing is about vibration levels, response to inputs, determining performance and making mods to the airframe
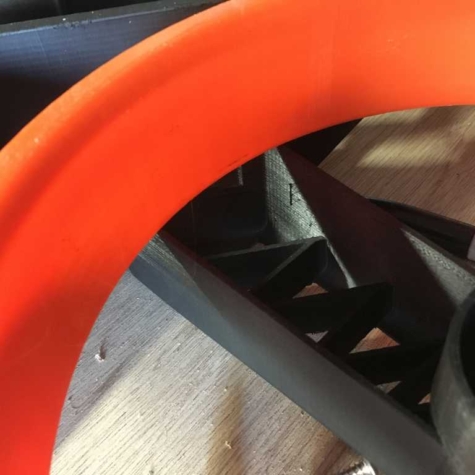
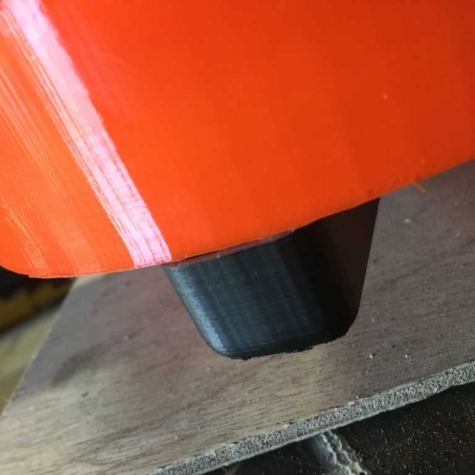
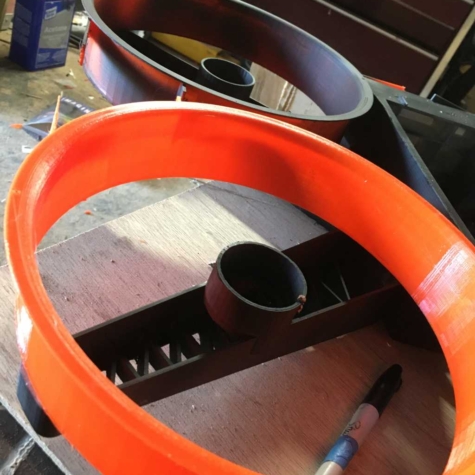
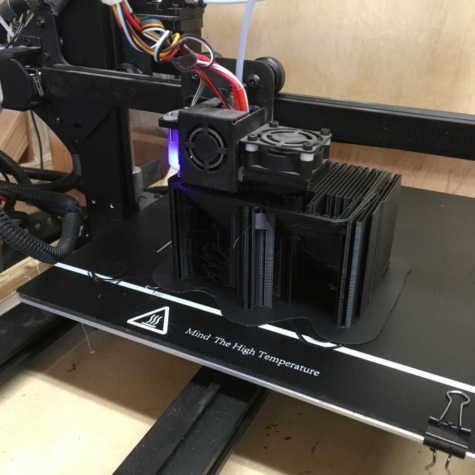
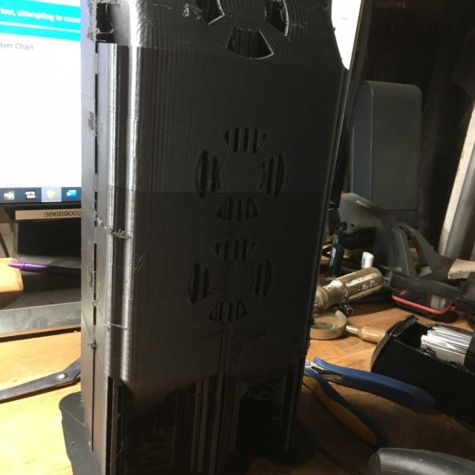
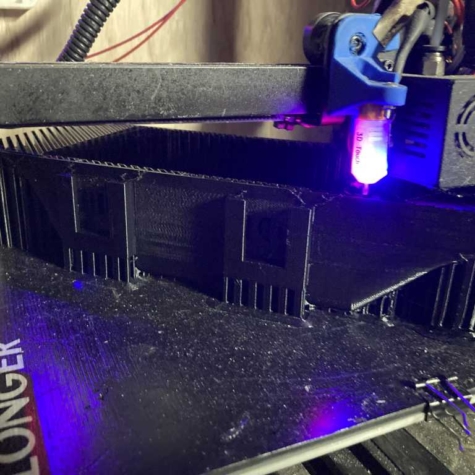
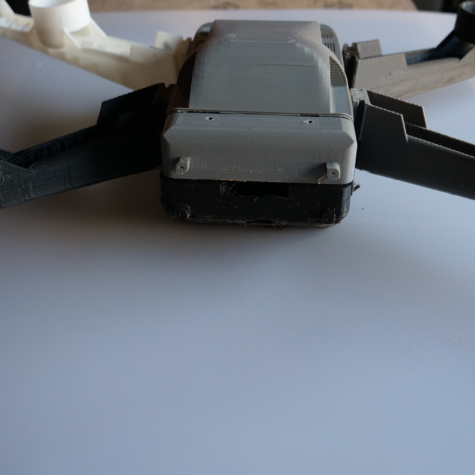
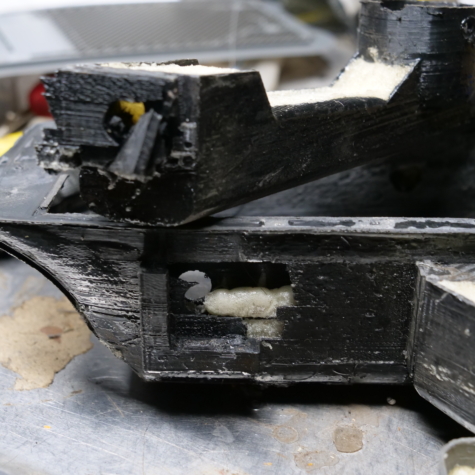
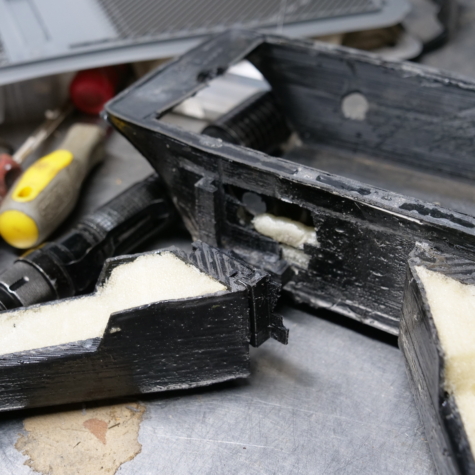
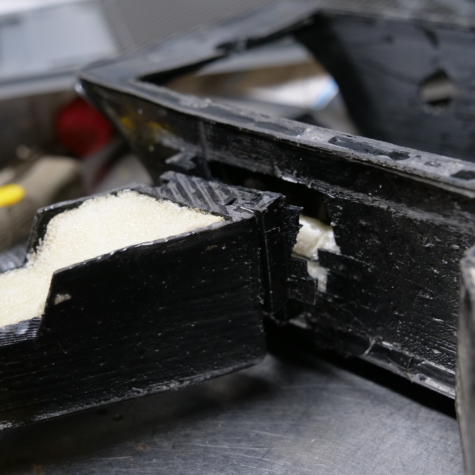
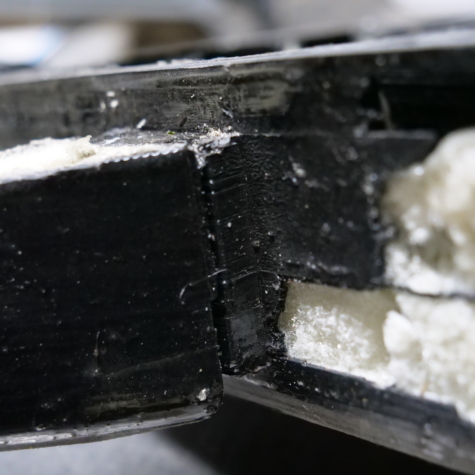
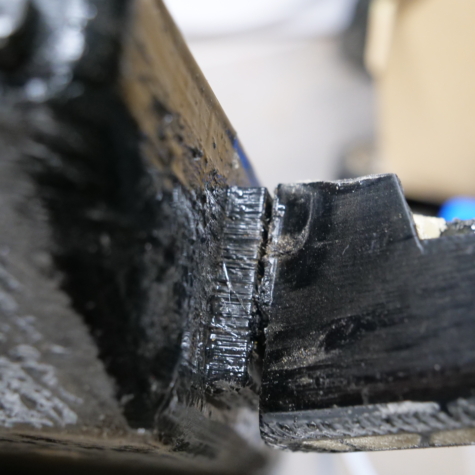
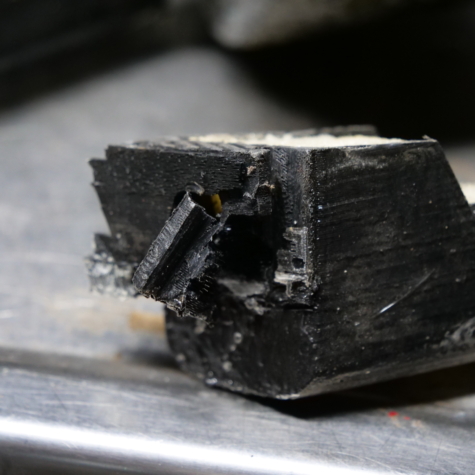
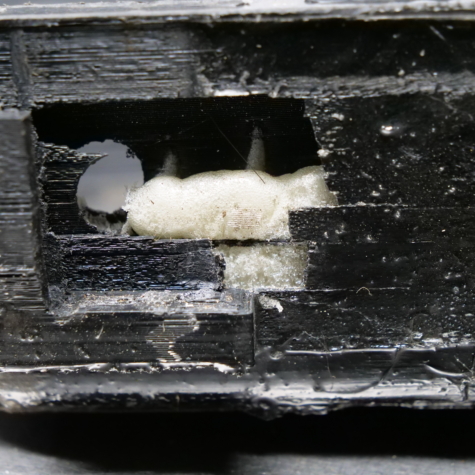
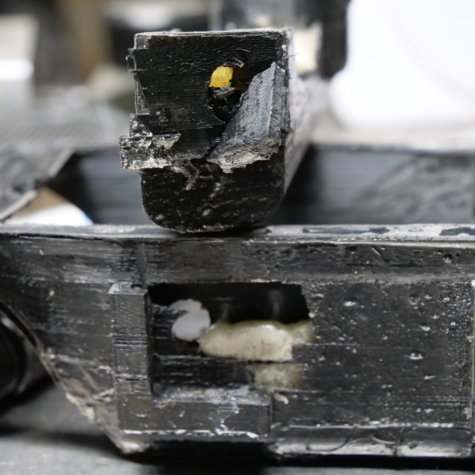
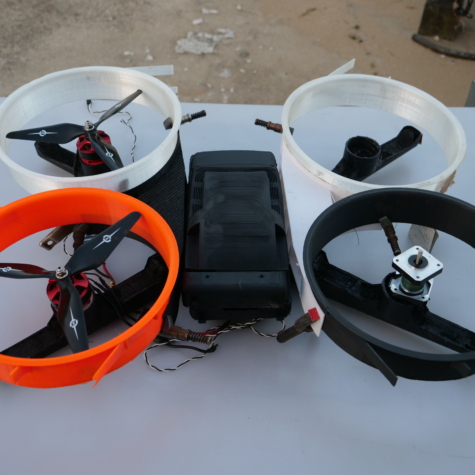
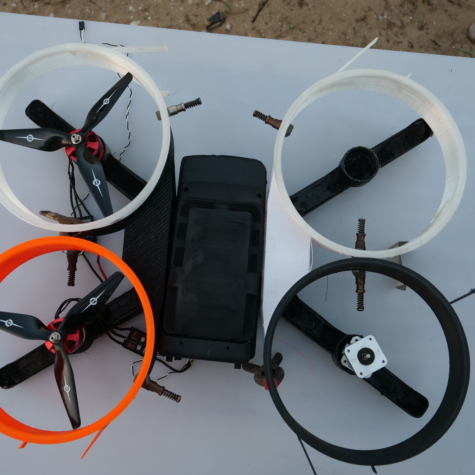
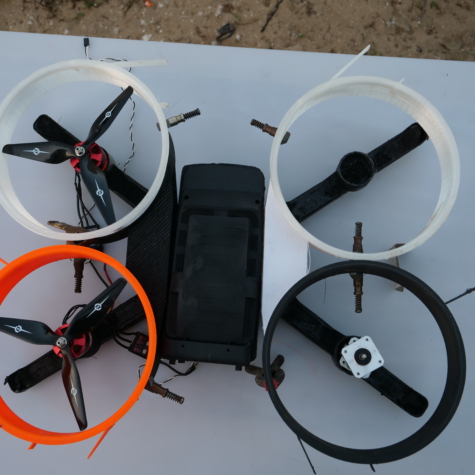
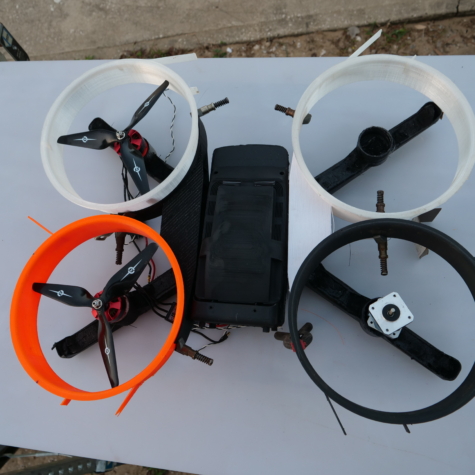
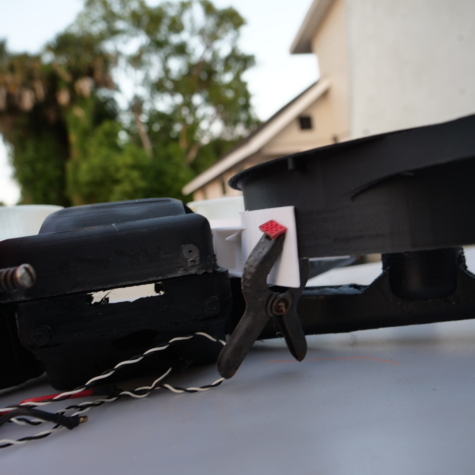
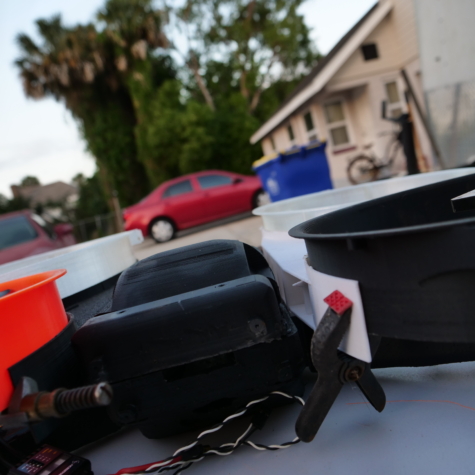
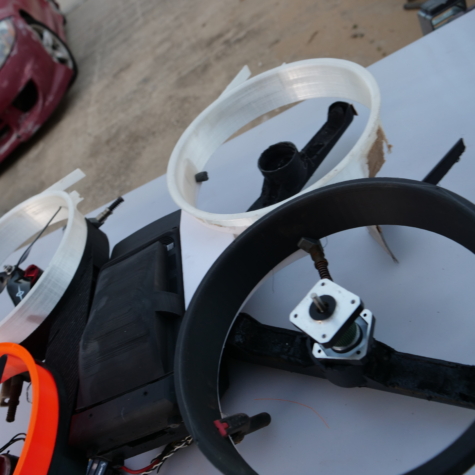
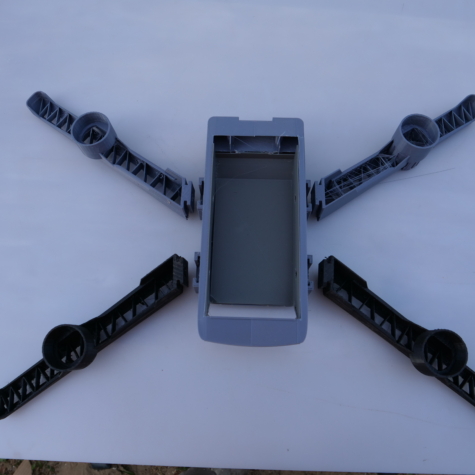
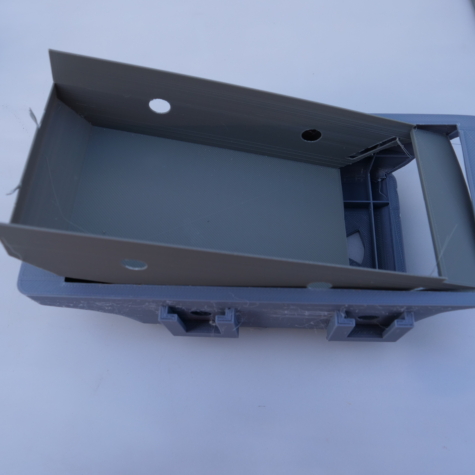
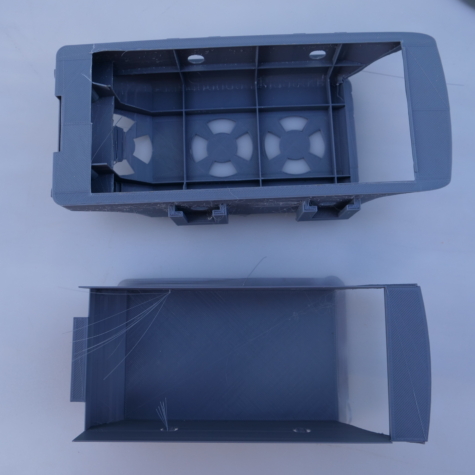
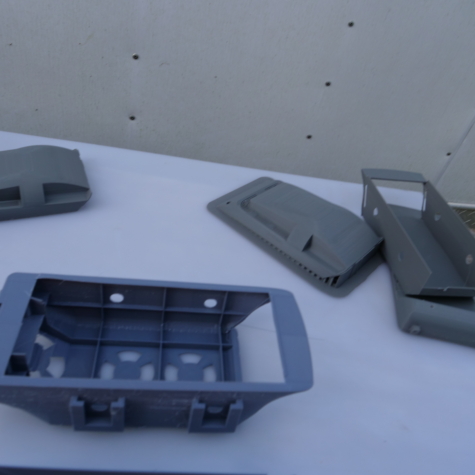
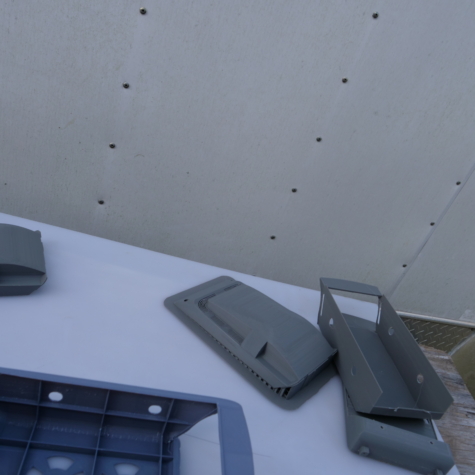
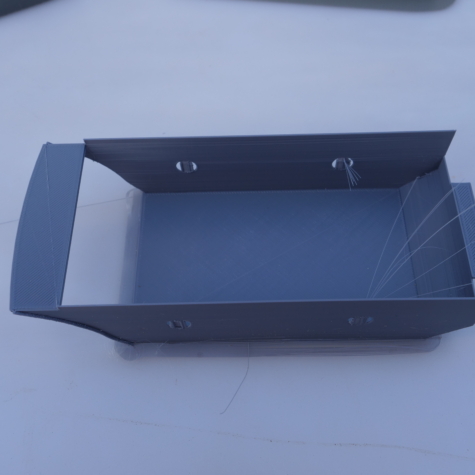
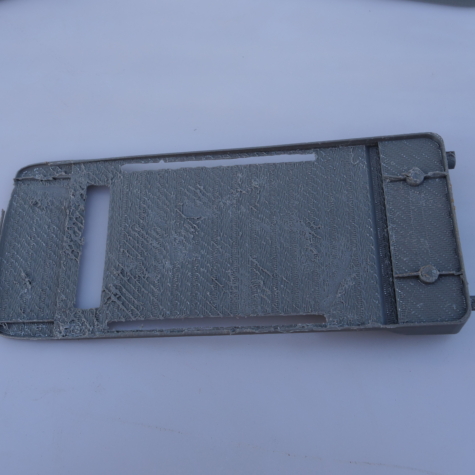
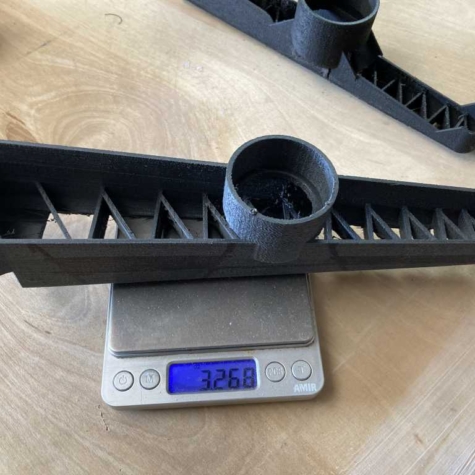
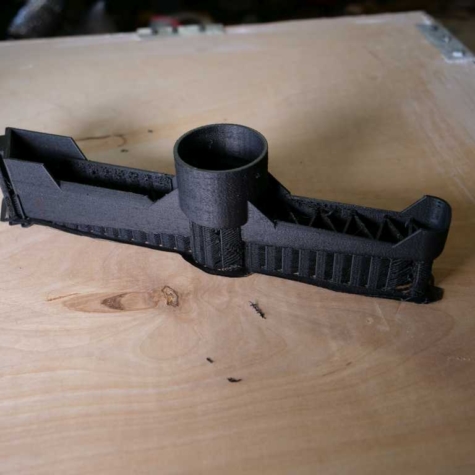
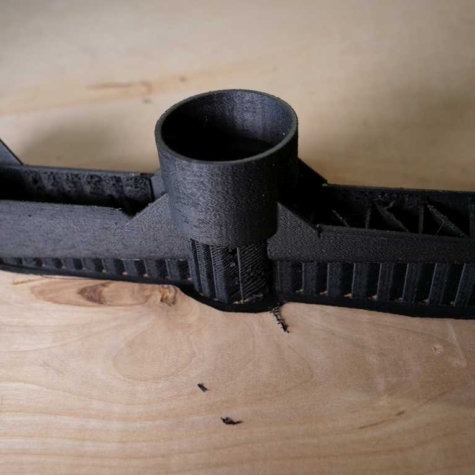
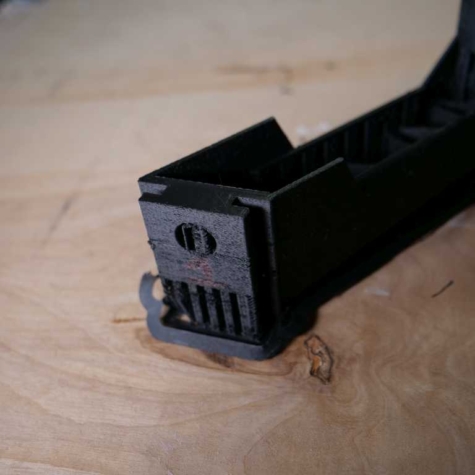
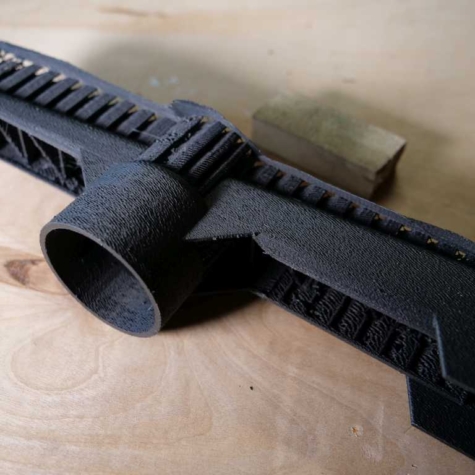
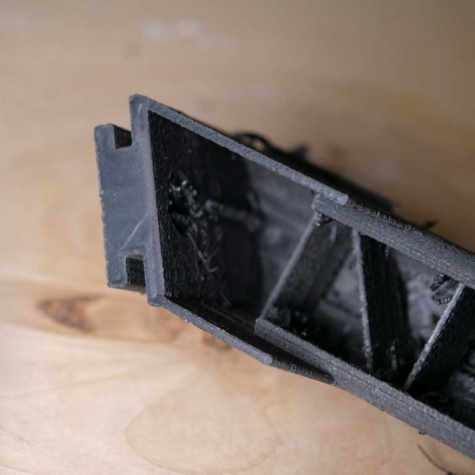
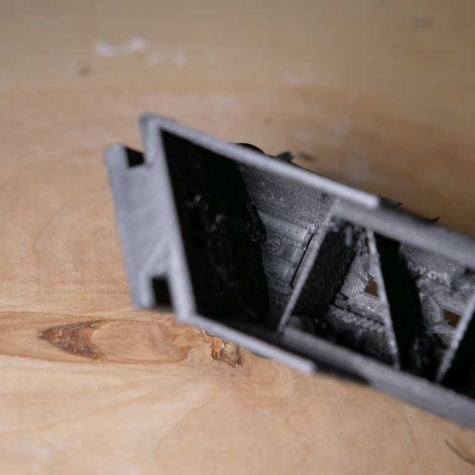
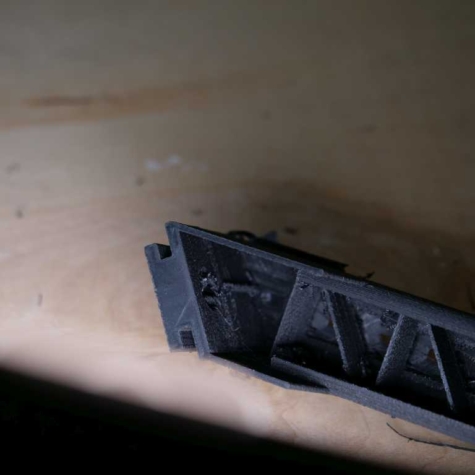
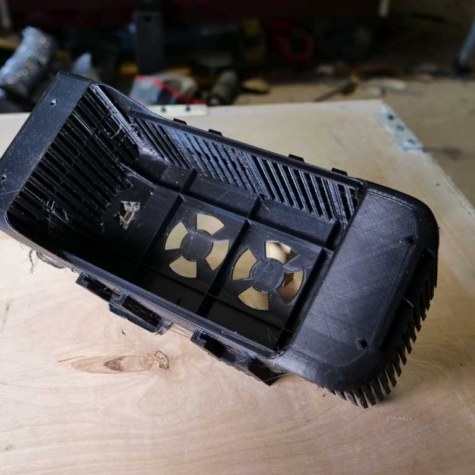
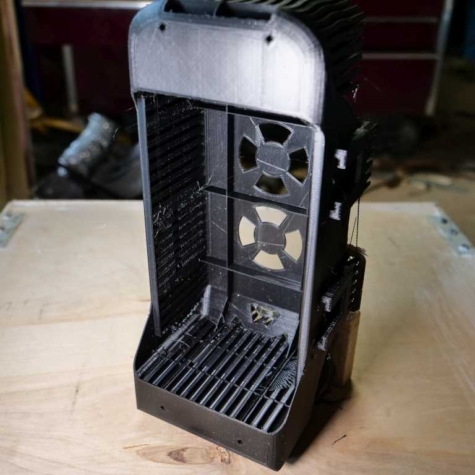
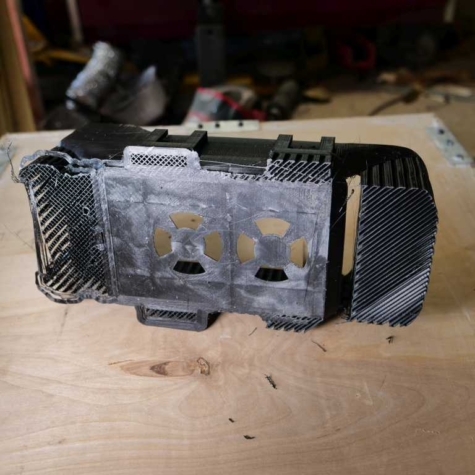
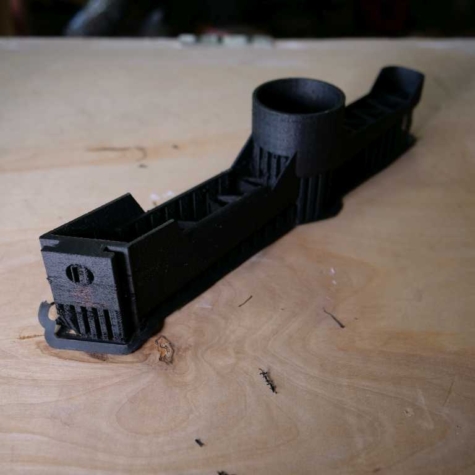
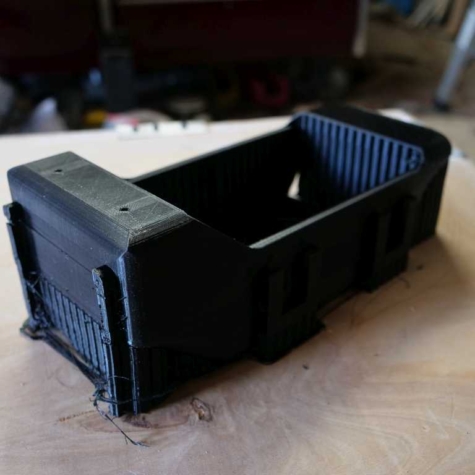
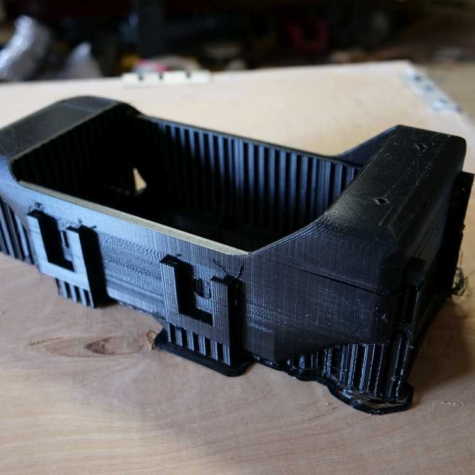
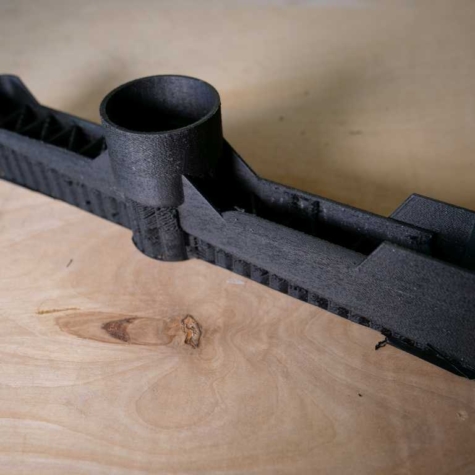
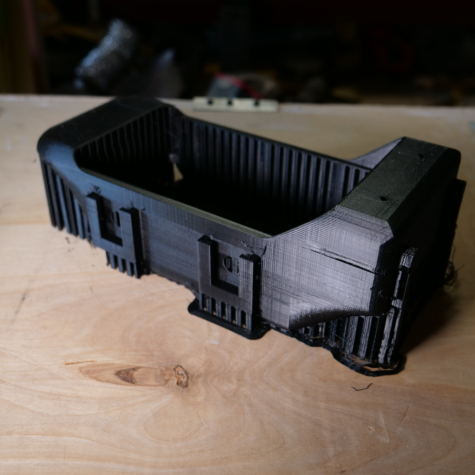
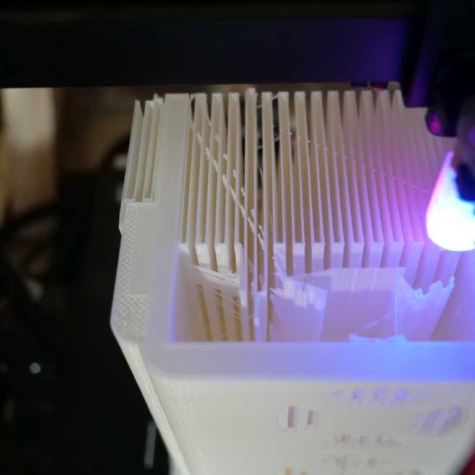
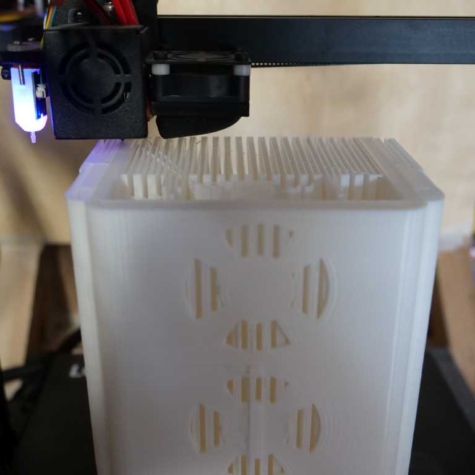
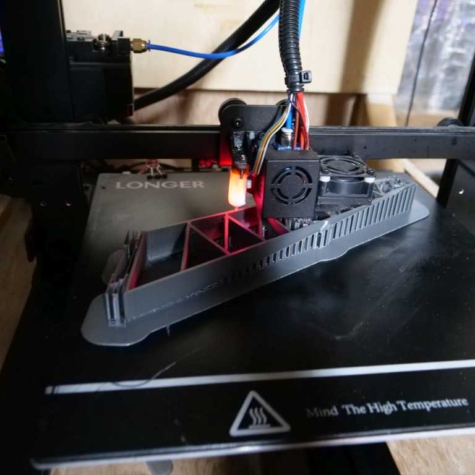
Manufacture: 3d printing
The 3d printing was a requirement for us because it’s efficient, generating units and making changes can happen in-house and the designs can be downloaded and reproduced anywhere in the world. Our 3d printer experience started with a very inexpensive large-scale printer, the experience can be found here. forumla.localad.com
Doing some calculations:
Our attempts to keep it US made lead us to KDEDirect to do some estimates, They have a
calculator, it’s a starting point.

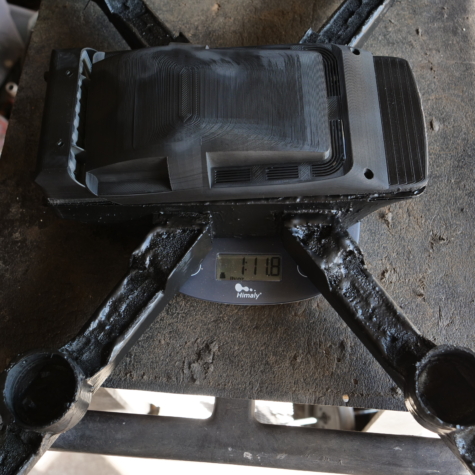
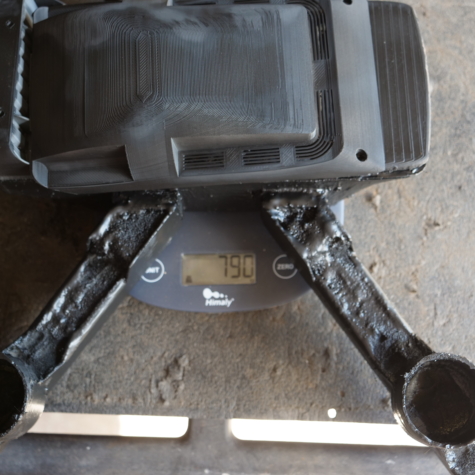
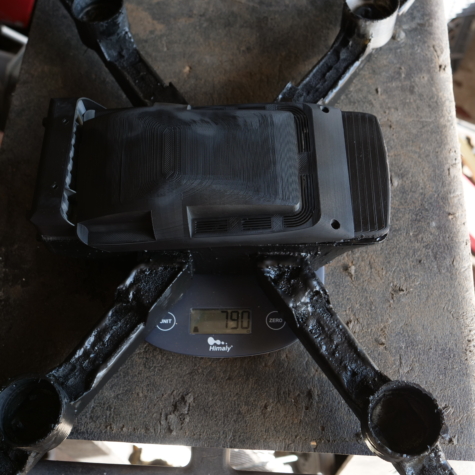
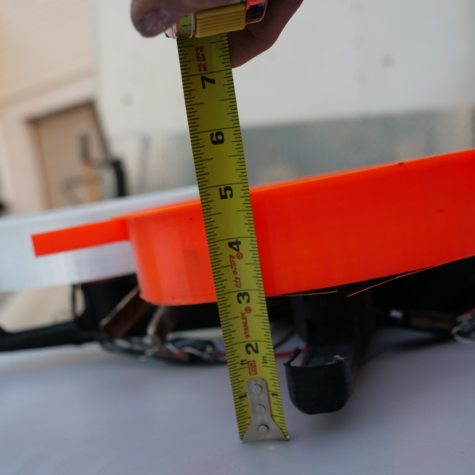
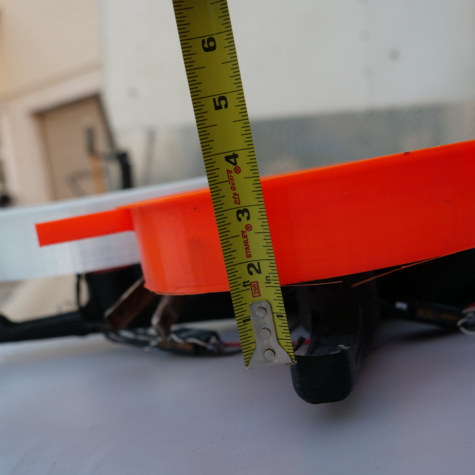
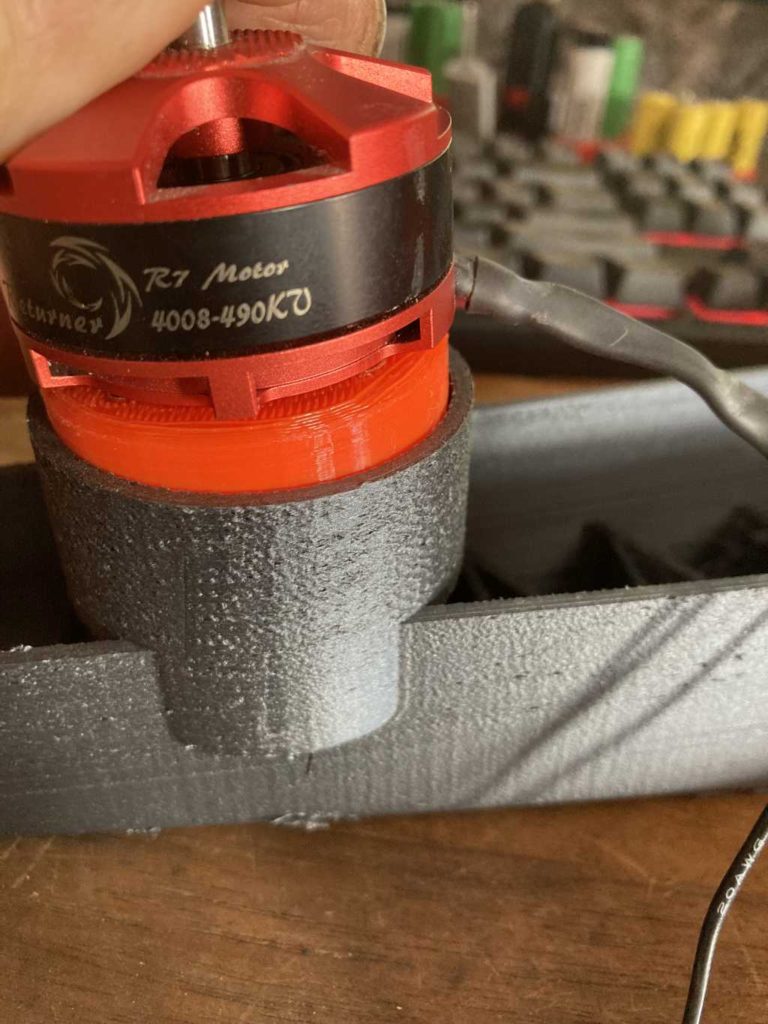
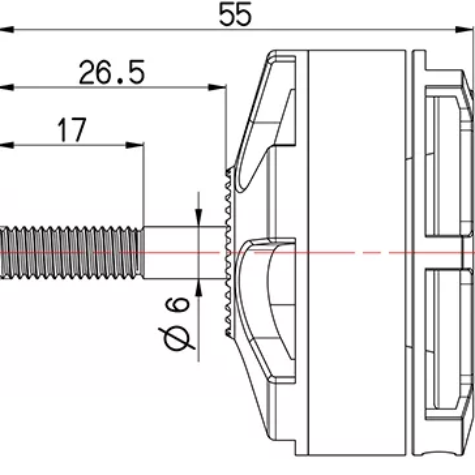
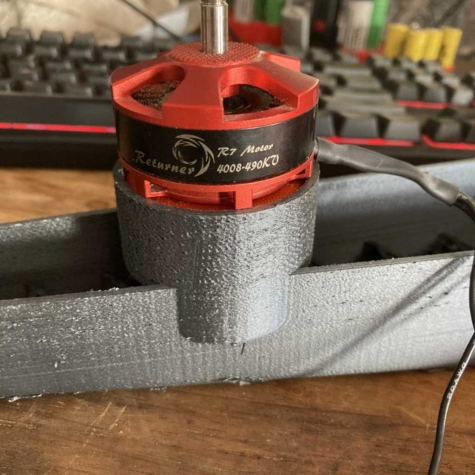
3.3 kg is 7.2 lbs, this should be a safe estimate for the drone with a 35mm camera payload. The estimated motors are a size
we tried on the first build and the motors cooked. Our testing is now done with 4015 size, they run cool but battery drain is a concern

![IMG_3137[1]](https://daytonadrone.com/wp-content/uploads/2022/03/IMG_31371-475x475.jpg)


![IMG_3026[1]](https://daytonadrone.com/wp-content/uploads/2022/03/IMG_30261-1-475x475.jpg)

![IMG_3003[1]](https://daytonadrone.com/wp-content/uploads/2022/03/IMG_30031-475x475.jpg)
![IMG_3002[1]](https://daytonadrone.com/wp-content/uploads/2022/03/IMG_30021-475x475.jpg)
![IMG_3001[1]](https://daytonadrone.com/wp-content/uploads/2022/03/IMG_30011-475x475.jpg)
![IMG_2991[1]](https://daytonadrone.com/wp-content/uploads/2022/03/IMG_29911-475x475.jpg)
![IMG_0646[1]](https://daytonadrone.com/wp-content/uploads/2022/03/IMG_06461-475x475.jpg)
![IMG_0645[1]](https://daytonadrone.com/wp-content/uploads/2022/03/IMG_06451-475x475.jpg)
![IMG_3053[1]](https://daytonadrone.com/wp-content/uploads/2022/03/IMG_30531-475x475.jpg)
![IMG_3052[1]](https://daytonadrone.com/wp-content/uploads/2022/03/IMG_30521-475x475.jpg)
![IMG_3050[1]](https://daytonadrone.com/wp-content/uploads/2022/03/IMG_30501-475x475.jpg)
![IMG_3049[1]](https://daytonadrone.com/wp-content/uploads/2022/03/IMG_30491-475x475.jpg)
![IMG_3047[1]](https://daytonadrone.com/wp-content/uploads/2022/03/IMG_30471-475x475.jpg)
![IMG_3046[1]](https://daytonadrone.com/wp-content/uploads/2022/03/IMG_30461-475x475.jpg)

![IMG_3037[1]](https://daytonadrone.com/wp-content/uploads/2022/03/IMG_30371-475x475.jpg)
![IMG_3035[1]](https://daytonadrone.com/wp-content/uploads/2022/03/IMG_30351-475x475.jpg)
![IMG_3032[1]](https://daytonadrone.com/wp-content/uploads/2022/03/IMG_30321-475x475.jpg)
![IMG_3031[1]](https://daytonadrone.com/wp-content/uploads/2022/03/IMG_30311-475x475.jpg)
![IMG_3030[1]](https://daytonadrone.com/wp-content/uploads/2022/03/IMG_30301-475x475.jpg)
![IMG_3029[1]](https://daytonadrone.com/wp-content/uploads/2022/03/IMG_30291-475x475.jpg)
![IMG_3026[1]](https://daytonadrone.com/wp-content/uploads/2022/03/IMG_30261-475x475.jpg)
![IMG_3024[1]](https://daytonadrone.com/wp-content/uploads/2022/03/IMG_30241-475x475.jpg)
![IMG_3023[1]](https://daytonadrone.com/wp-content/uploads/2022/03/IMG_30231-475x475.jpg)
![IMG_3022[1]](https://daytonadrone.com/wp-content/uploads/2022/03/IMG_30221-475x475.jpg)

![IMG_0624[1]xx](https://daytonadrone.com/wp-content/uploads/2022/03/IMG_06241xx-475x475.jpg)
![IMG_0623[1]](https://daytonadrone.com/wp-content/uploads/2022/03/IMG_06231-475x475.jpg)
![IMG_0622[1]](https://daytonadrone.com/wp-content/uploads/2022/03/IMG_06221-475x475.jpg)
![IMG_0621[1]a](https://daytonadrone.com/wp-content/uploads/2022/03/IMG_06211a-475x475.jpg)
![IMG_0620[1]s](https://daytonadrone.com/wp-content/uploads/2022/03/IMG_06201s-475x475.jpg)
![IMG_0619[1]z](https://daytonadrone.com/wp-content/uploads/2022/03/IMG_06191z-475x475.jpg)
![IMG_0617[1]s](https://daytonadrone.com/wp-content/uploads/2022/03/IMG_06171s-475x475.jpg)
![IMG_0615[1]c](https://daytonadrone.com/wp-content/uploads/2022/03/IMG_06151c-475x475.jpg)